
A fresh, modern way to mount and protect watercolour paintings
It’s quite a simple process: glue a painting to a wooden board or panel and give it a protective coating.
I have used a cradled wooden panel as my mount and protected the painting at various stages of the process with varnish and wax, to create the look of a box frame picture.
Products available here in Australia often differ from the ones frequently used in the YouTube videos I have drawn my inspiration from (particularly Angela Fehr), so I have documented my process and the products that I used.
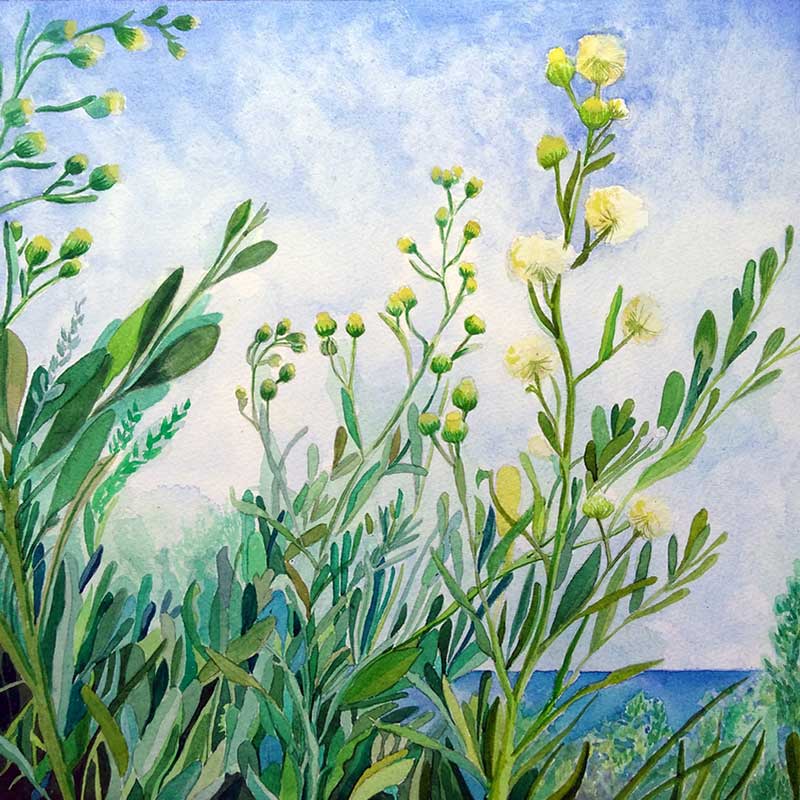
Saltbush ©KarenSmith 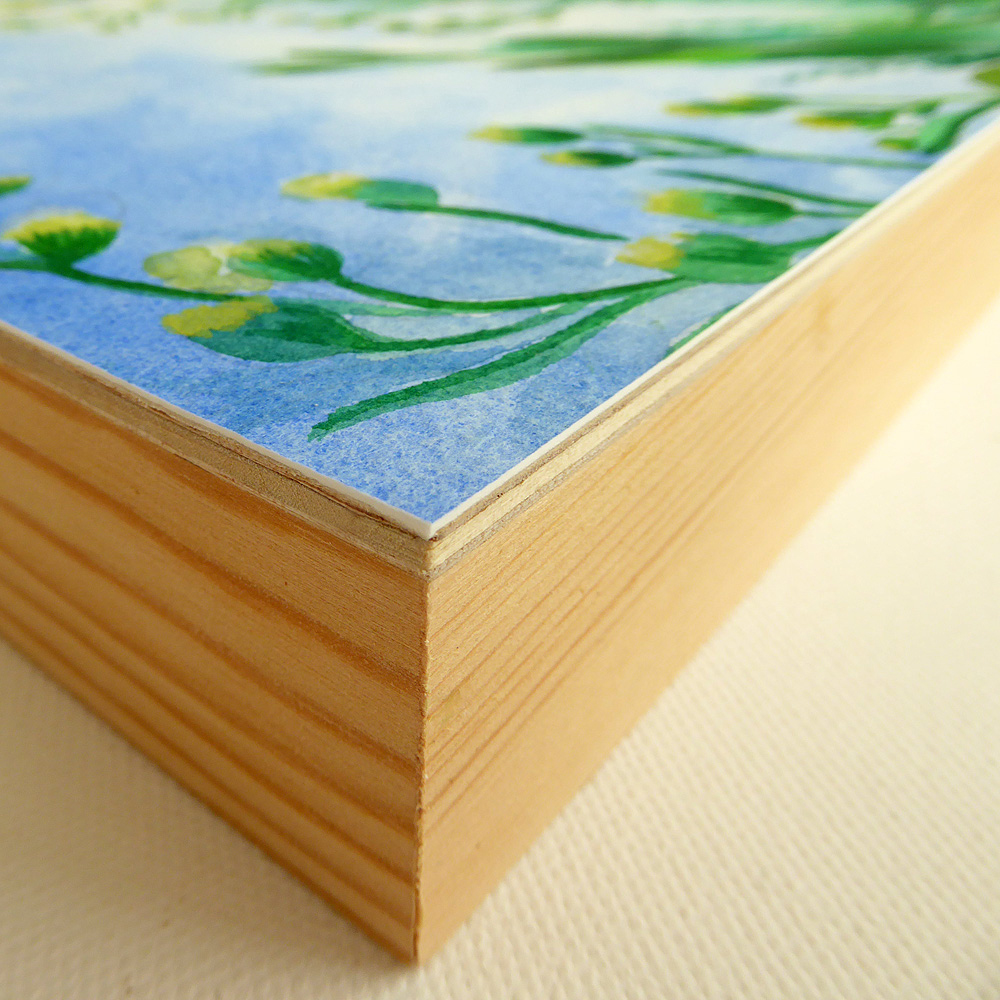
varnished painting
This is not a reversible process!
A word of warning, once you stick your painting onto the wooden panel, its virtually impossible to get off and there is a chance the adhesive may seep through and spoil your watercolour.
I started by practicing on a couple of paintings I liked but wouldn’t have a major drama over if I lost them. I began by just pasting a watercolour sketch onto a piece of scrap plywood, moved onto a small square wooden box lid, and then finally onto a commercial wood panel from my local art store, (pink flower).
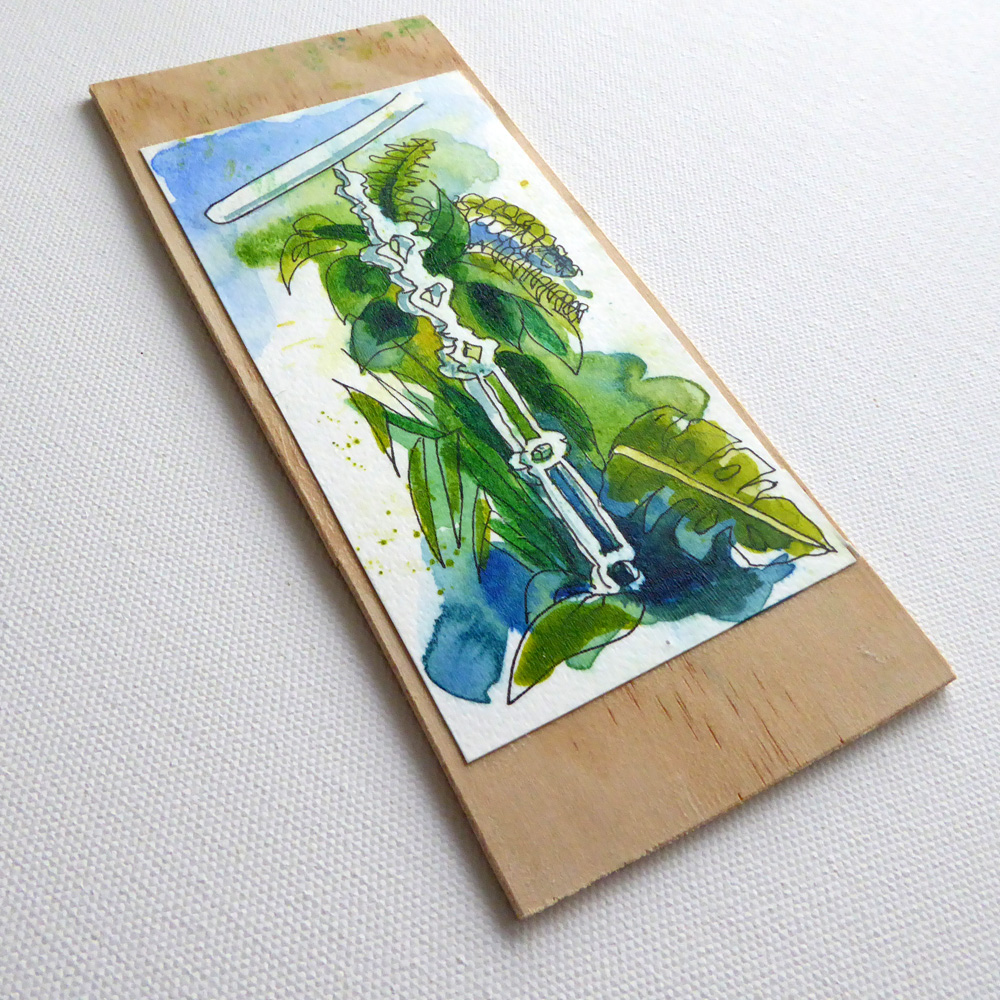
Palm House Step On Plywood ©KarenSmith 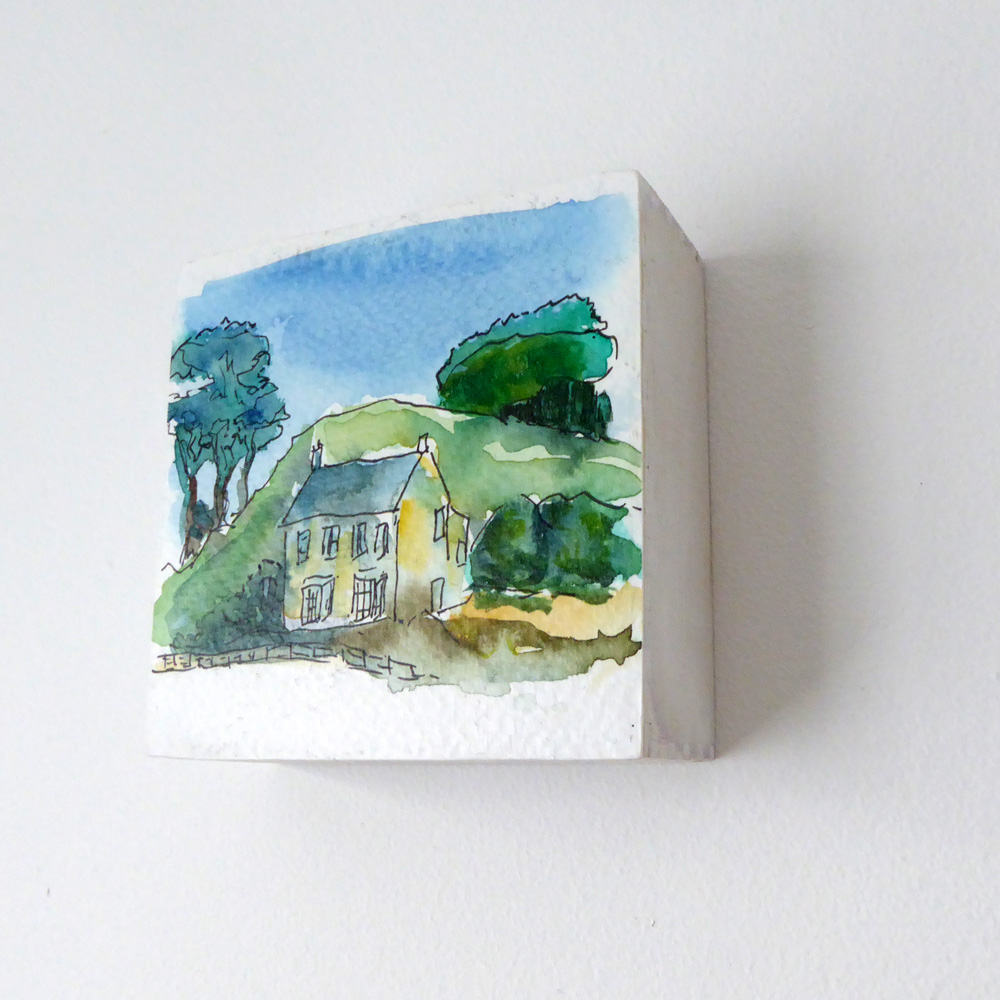
Little House On Wood Frame ©KarenSmith 
Pink Flower On Wood Frame ©KarenSmith
You will need
| A deep edge wooden panel Heavy gel medium Your watercolour painting on heavy paper Clear varnish spray (optional) Wax A wide flat paintbrush for applying gel medium |
Some water Sharp craft knife Fine sand paper Brayer Rags for cleaning up and soft rags for use with wax Pile of heavy books |

Painting face down, ready to apply gel 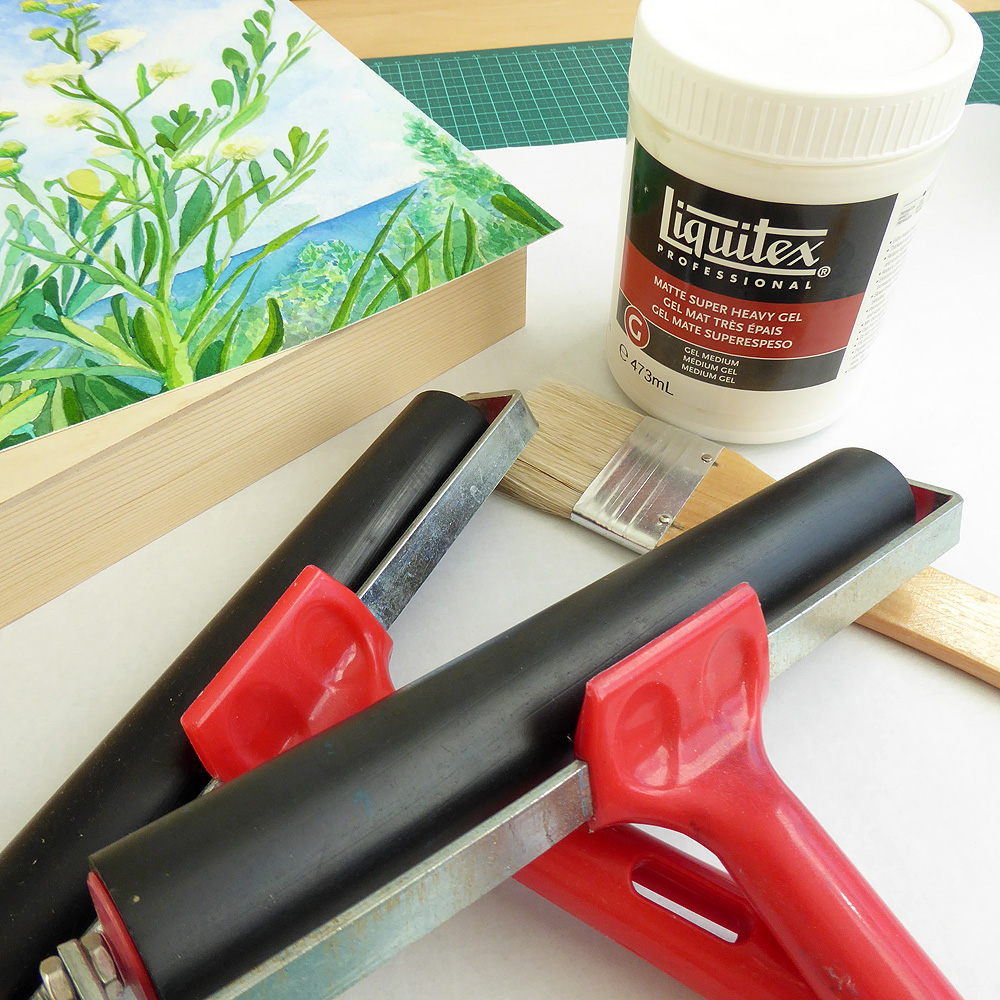
Saltbush Framing , brayers for applying gel medium ©KarenSmith 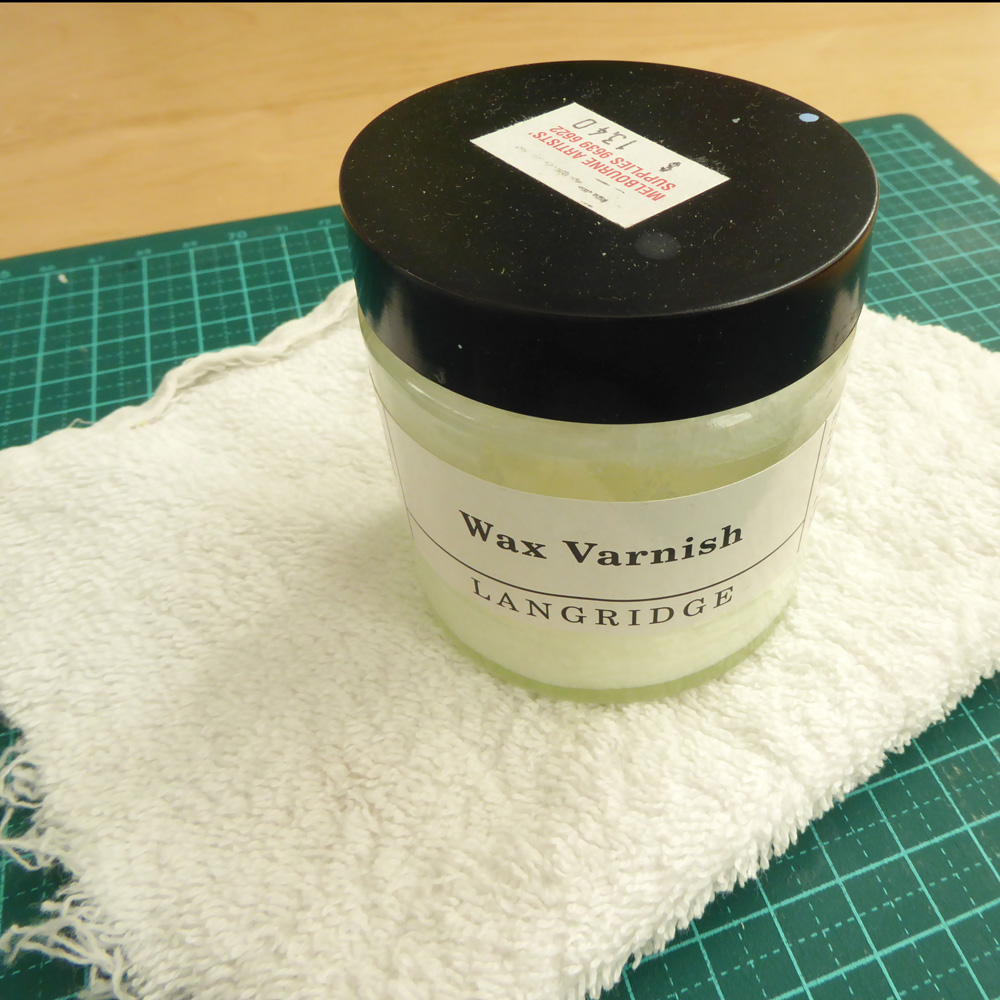
Saltbush Framing – waxing the painting ©KarenSmith 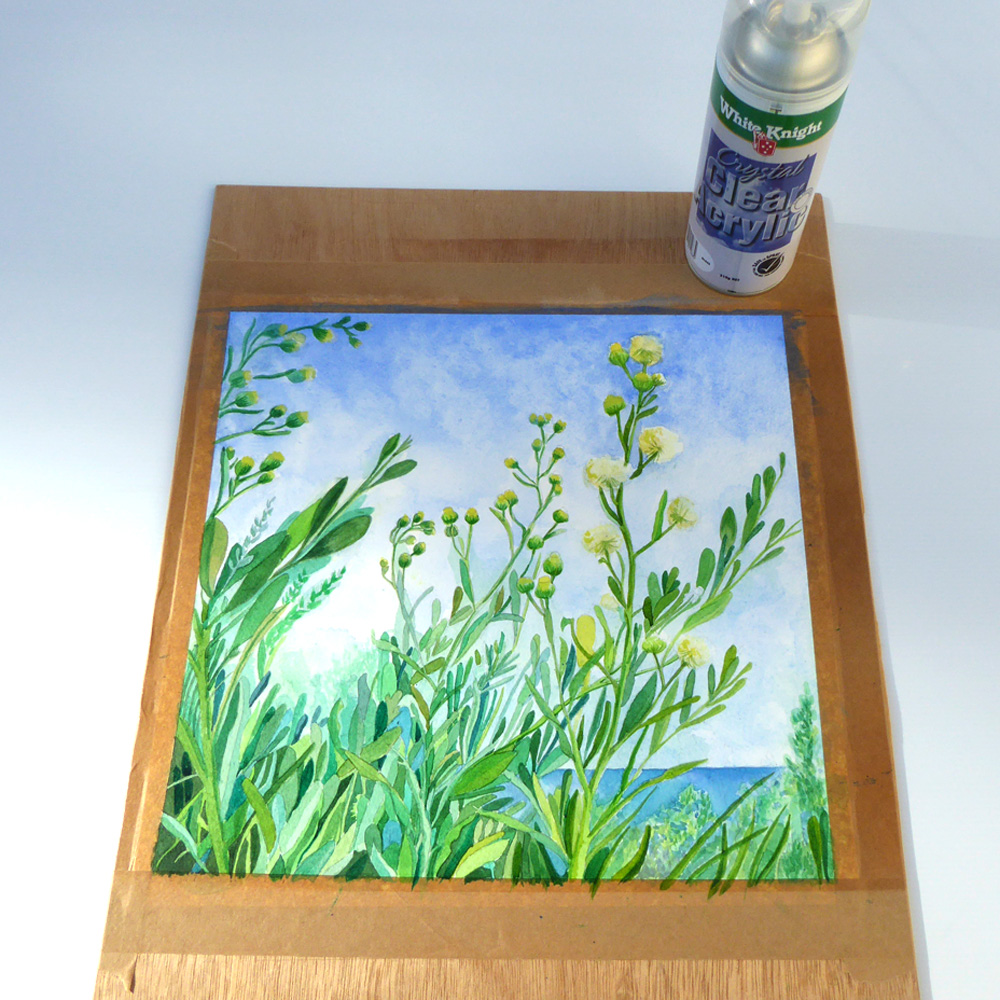
Saltbush Clear Varnish
I used a 12″ x 12″ a 1.5″ deep edge wooden panel by Artitude, these
appear to be at a mid range price point. I bought a pack of 3 from a
branch of Eckersleys, the Australian art supply store chain, I have also
seen them online and in other independent art stores.
My watercolour paper is 300gsm (140lb) I recommend the heavier the paper
the better, I suspect the gel may seep through thinner paper.
In this paining I used Winsor & Newton artist grade watercolour paints.
I used Liquitex Matte Heavy Gel Medium, widely available here in Australia, I bought the heavy gel to give me flexibility, it can be watered down to make a thinner consistency, though I found it’s gloopy thick state just right for this project. I applied the medium with a flat wide bristle brush – a Gesso Brush from Mont Marte, again widely available here in Australia.
The wax varnish I used is by Langridge, an Australian company, bought
from a local art store (the fabulous Melbourne Artists’ Supplies). A
web search told me its available through many Australian art stores.
When I use varnish it has been White Knight, Crystal Clear Acrylic (from
Bunnings!), there are many online sites that recommend Krylon Clear,
this is available from Spotlight stores, but I haven’t used it yet.
1 Prepare your artwork
Trim your artwork to a size slightly larger (approx 1cm on all sides) than your wooden panel, my panel was 30cm (12″), so I cut my work to 32 x 32cm. This allows for easy placement on top of the panel and gives enough excess paper to trim off after the paper is glued to the panel. without things getting cumbersome.
At this stage you can apply a thin coat of varnish, this is to give a light seal to the artwork, it can help protect the watercolour paint when applying the heavy gel medium (which is water based). Leave to dry 24hrs, this is not a process to be rushed, I think its best to give mediums used at every stage a good time to cure.
I also recommend spraying a test piece of your paper that has all the colours used in your painting first, to make sure the varnish doesn’t have a detrimental effect on the brand / pigment of watercolour paints you’ve used.
Saltbush Cutting Out 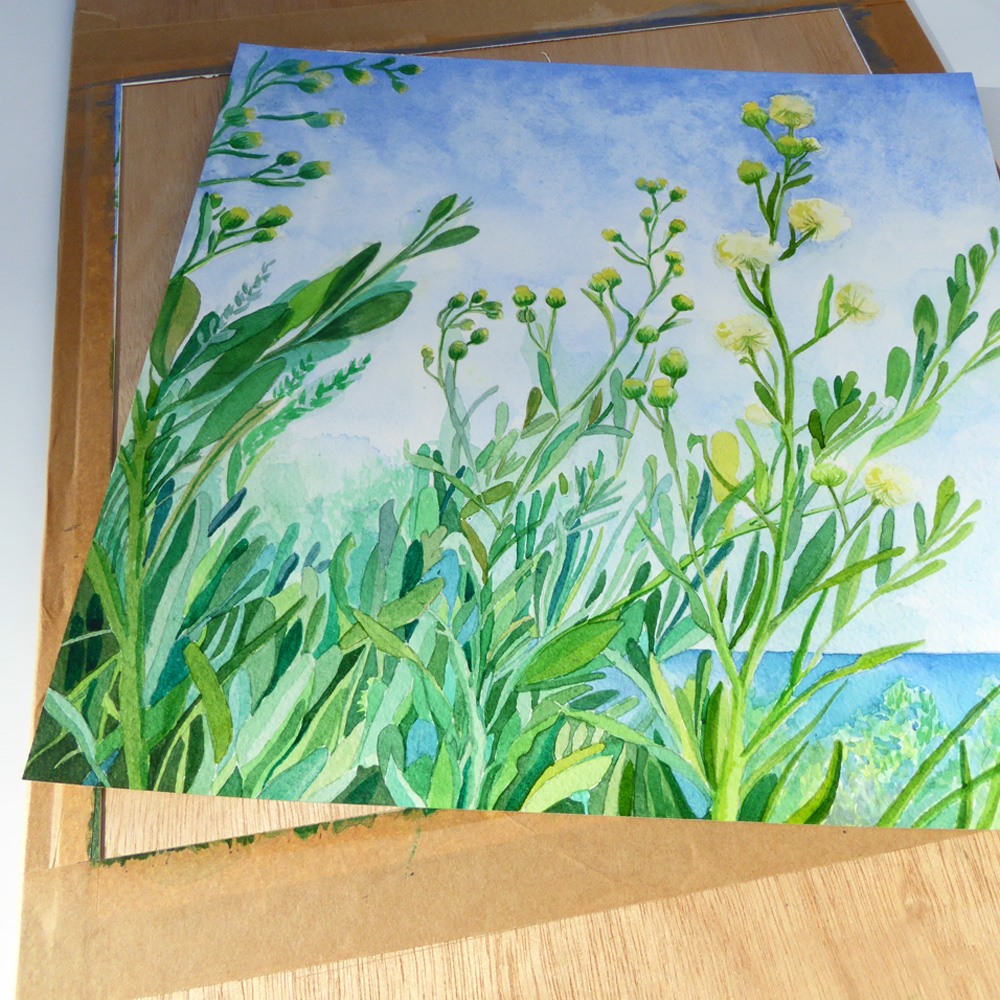
Saltbush – Trim to size bigger than wood panel Saltbush Clear Varnish
2 Apply gel medium to your painting
Place your painting face down on some clean paper (not scrap – you don’t want to mark your painting). Apply a thick coat of the gel medium to the back of the painting with a flat stiff brush, go right up to the edges (this is really important).
Use a brayer to even out your gel lay, as the gel is so thick this process should create some thick ripples, this helps the adhesion process. (Rinse your brayer immediately – the gel is sticky stuff).
Painting face down, ready to apply gel 
Saltbush Framing – Applying Gel Medium 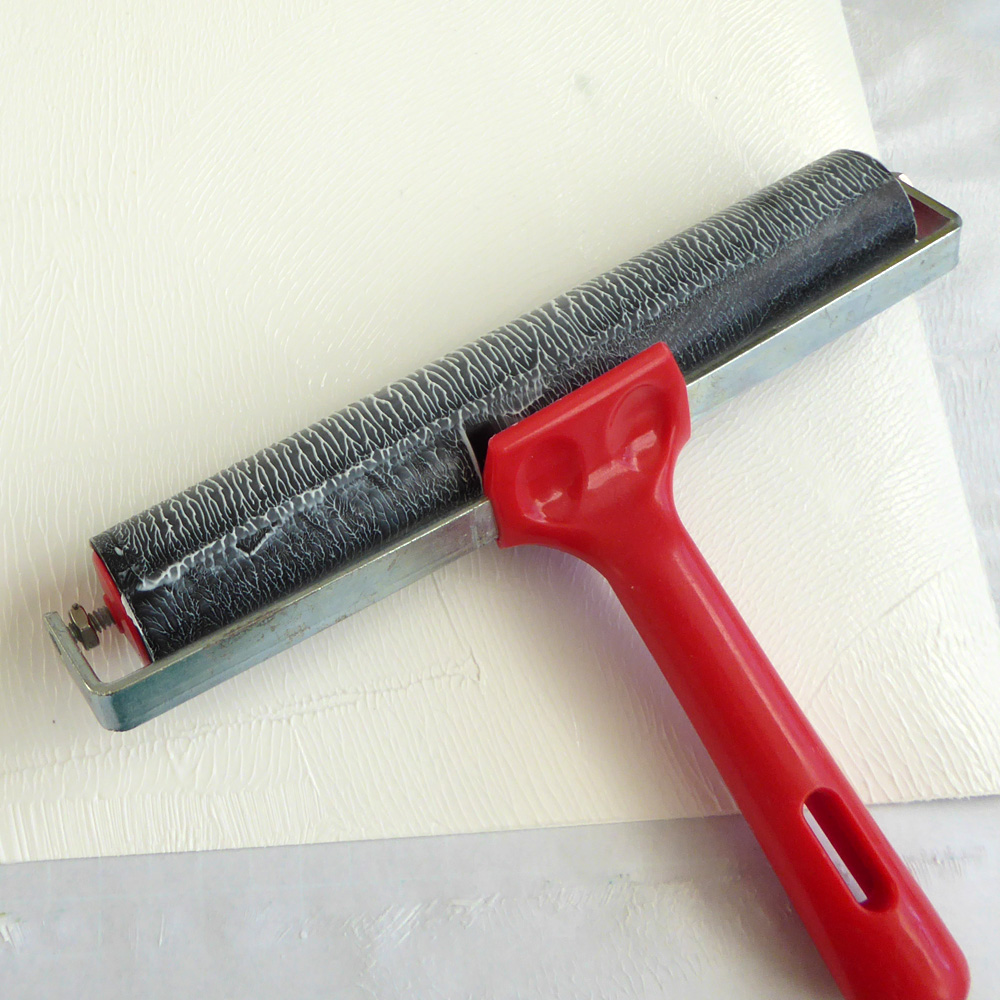
Making ripples in the gel with a brayer
3 Glue your painting to the wooden panel
On another clean sheet of paper place your wooden panel face up, carefully place your painting on top and position so it overlaps on all sides. Smooth the paper down onto the panel, you can use a clean brayer at this point to help. Once you are happy with the position and adherence, fold the edges over slightly by running your finger along the edge. Wipe away any excess gel medium with a cloth. Make sure there is no glue on the surface of the painting as this will stick to your paper sheet.
Place the frame with your painting face down on a clean sheet of paper, and weigh down with heavy books or wooden boards, make sure the first book/ board covers the entire wood panel – this will make sure you get an even distribution of weight. Leave to dry for another 24 hours.

Place painting on wood panel 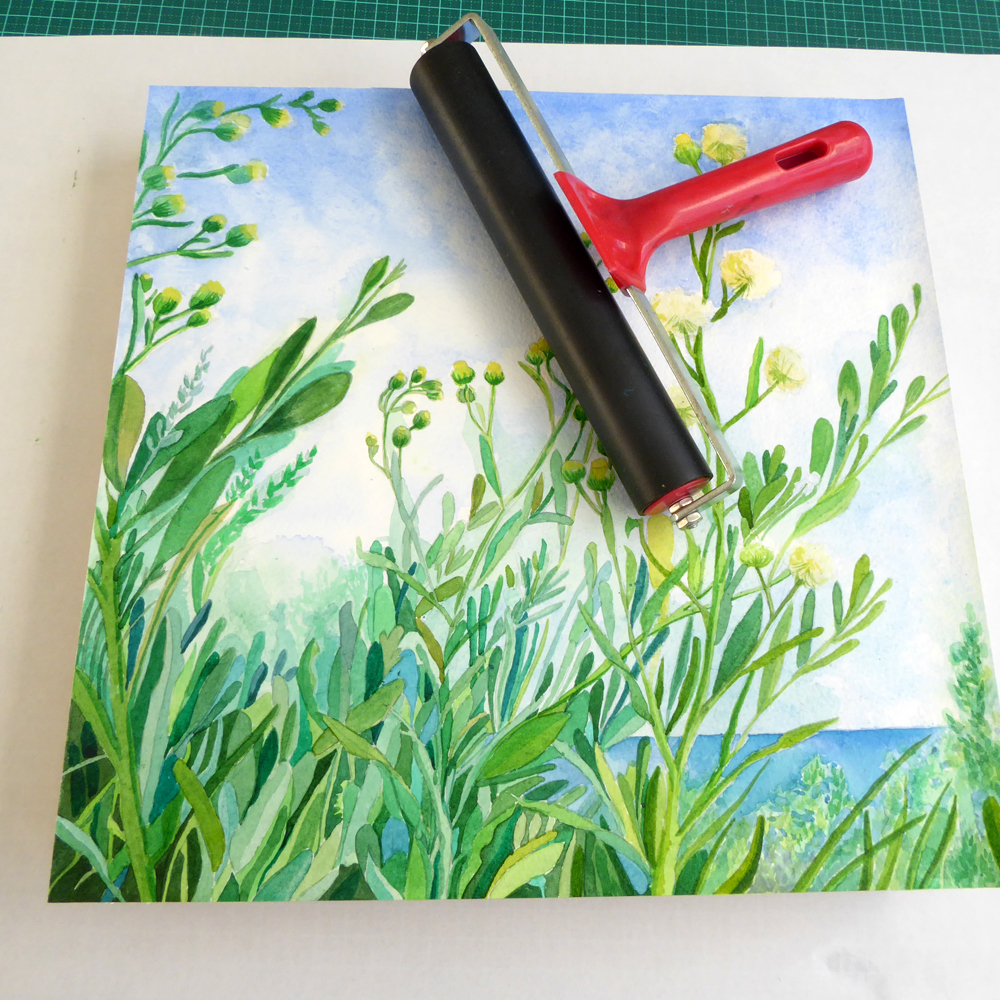
Smooth with brayer to firmly fix paper to panel 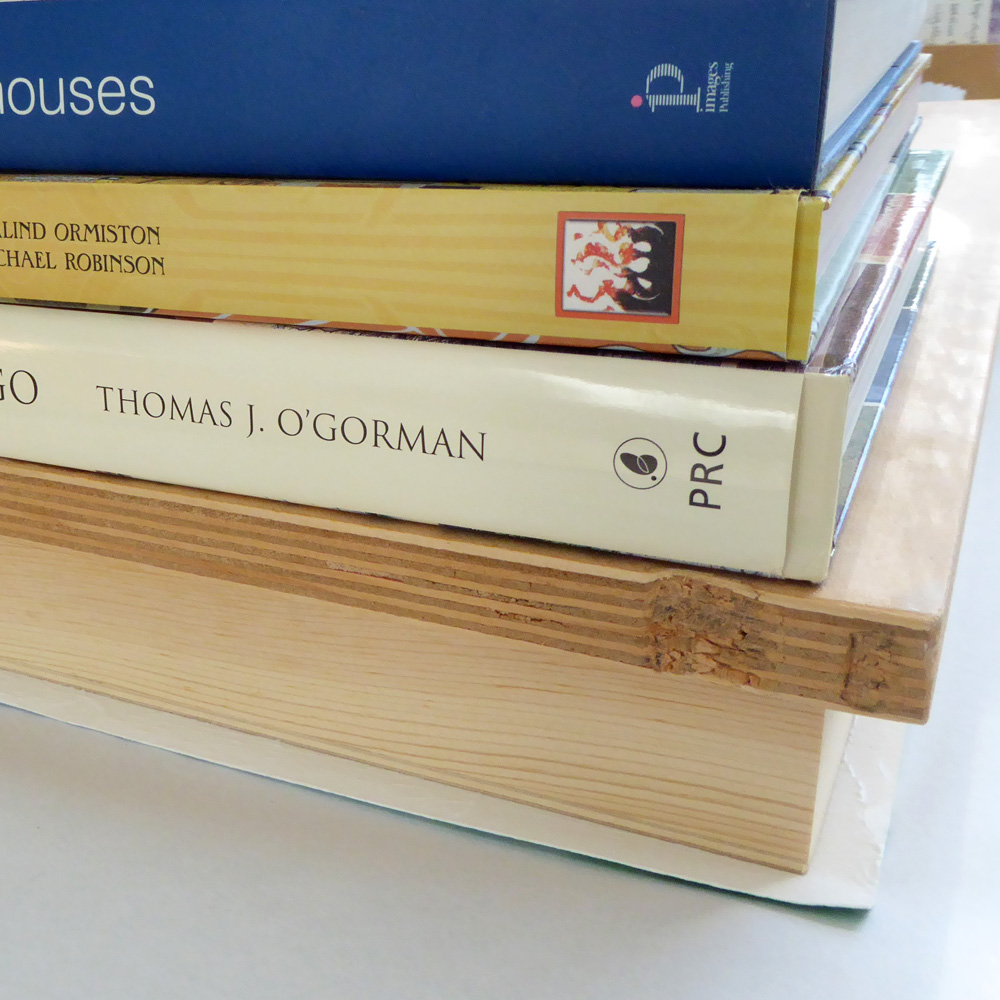
Weigh down with books
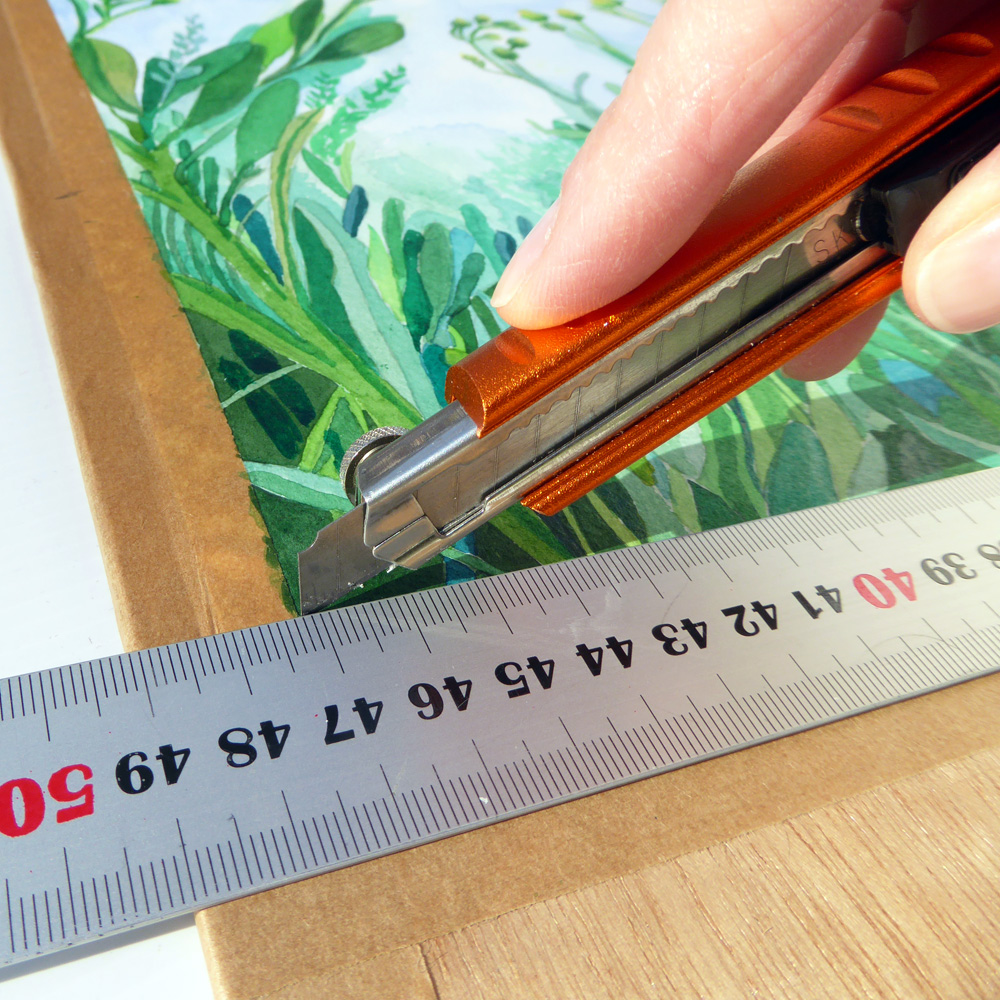
4 Trim your artwork
Place wood panel painting side face down on a cutting mat, again protect the surface of your painting with a sheet of clean paper. Using a sharp craft knife carefully trim the excess paper from the frame, using the edge of the frame as a guide.
The edge of your paper should be flush with the wooden panel edge. Smooth the paper edge with some very fine grit sandpaper, this creates a really professional looking smooth edge.
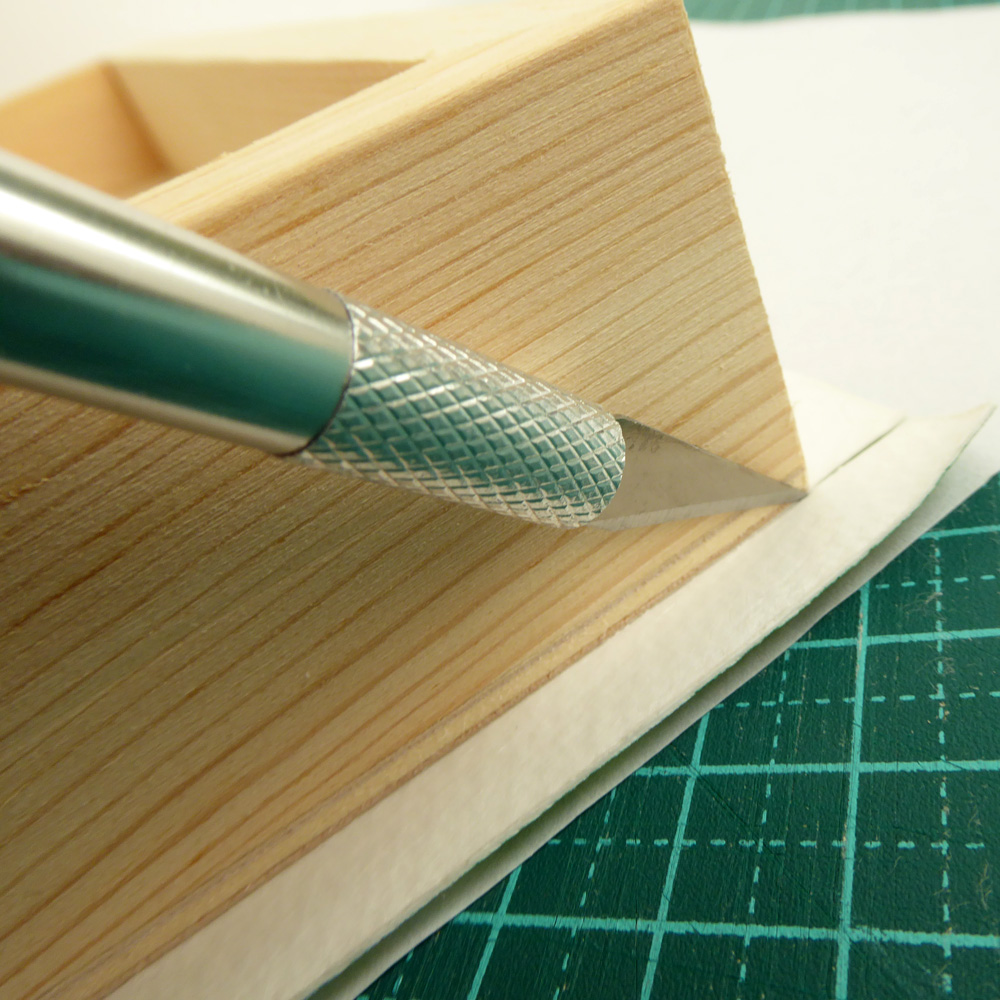
trim excess paper 
edge should be flush with wooden panel edge 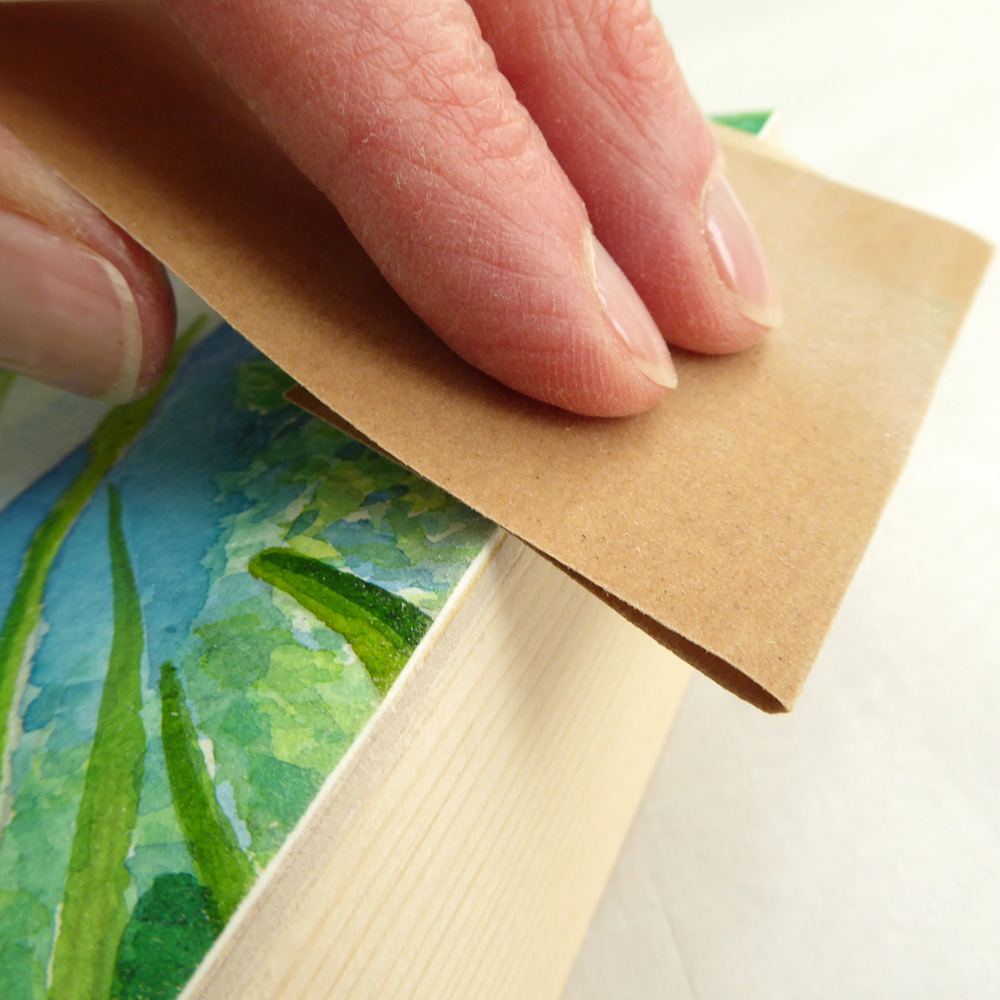
smooth with fine grit sandpaper
5 Apply wax coating to picture
Finally apply some wax as a final finishing layer. Using a soft
cotton cloth pick up some wax from the jar (about 1/4 teaspoon to begin
with) rub wax gently across surface of painting, in a circular motion,
Keep applying as much wax as needed, but in small quantities to create
an even coating. Wax the edges of the paper and also the sides – it
doesn’t harm to wax the wooden sides of the panel as well if you want
to.
Don’t press too hard, and leave overnight to dry.
Using another clean soft cloth buff the surface, you will get a slight sheen. Repeat the waxing process and dry again overnight. Buff with a soft cloth one last time, the more you buff the higher the sheen, so best to stop and check your painting as you go by holding up to the light at an angle to make sure you get the level of shininess you want. Its never going to be a gloss varnish like finish – but I only like to achieve a slight sheen on my works, so I stop early.
Saltbush Framing – waxing the painting ©KarenSmith 
varnished painting 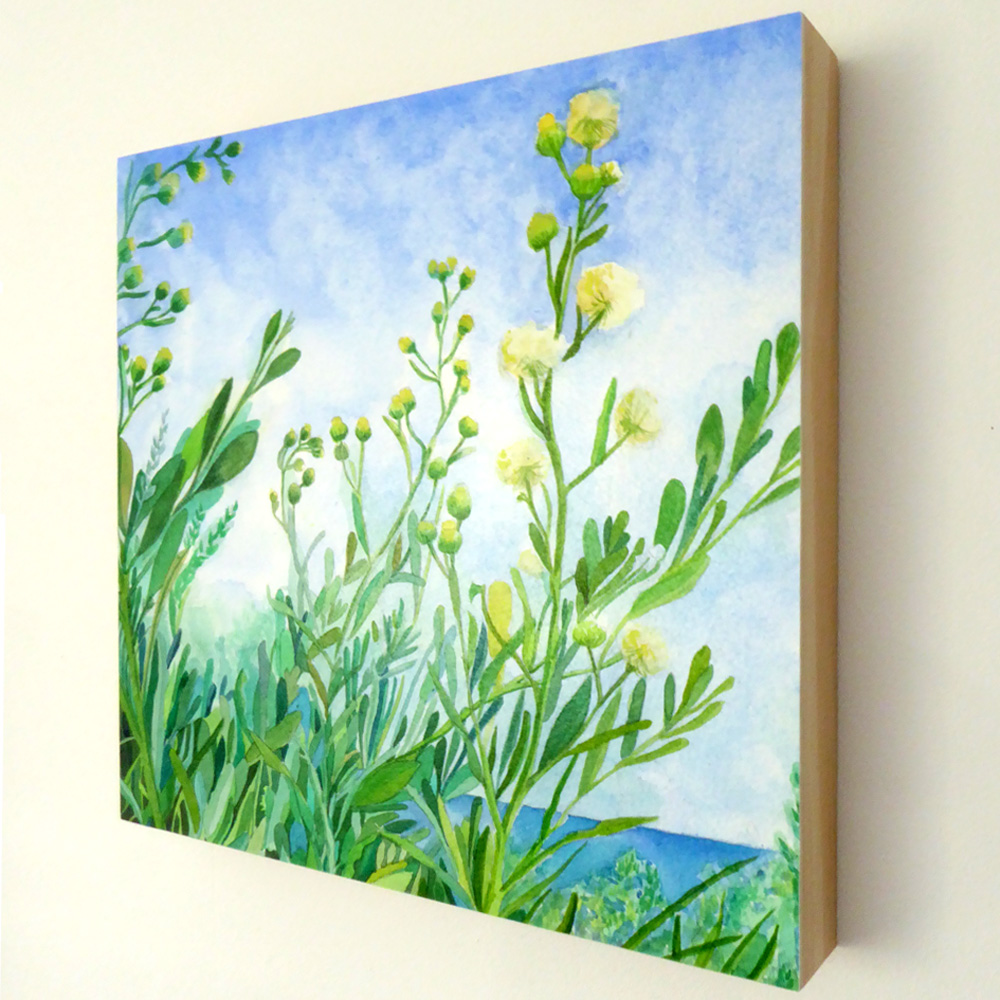
Saltbush ©KarenSmith
Your watercolour mounted on a deep edged wooden panel is now ready to display. I normally just hang these panels off wall hooks using the depth of the wooden frame, but picture wire can also be fixed to the inside of the frame.
Becky
Karen, first – your paintings are beautiful! You have such a lovely style. And thank you for your instructions for Frame Free Watercolour Mount Method
My question is regarding a statement in step 1: You wrote,
“At this stage you can apply a thin coat of varnish, leave to dry 24hrs,”
Do you mean spray a thin coat over your painting, or do you mean the back of the painting?
Thank you again for sharing. Looking forward to hearing from you.
Karen
Hi Becky,
Thanks for getting in touch.
Yes I do mean spray a light coat of varnish onto the front of the painting, this is to give a light seal to the artwork. It’s to help protect the watercolour paint when applying the heavy gel medium (which is water based).
Probably best to use a satin or matte finish, not a glossy finish varnish.
I also recommend spraying a test piece of your paper that has all the colours used in your painting first, to make sure the varnish doesn’t have a detrimental effect on the brand/colour of watercolour paints used, (I mostly use Winsor & Newton artist grade watercolour paints).
Thanks very much for the question, it made me think about the process a bit more – I’ll add some extra info into the tutorial on this step.
Kind Regards, Karen
Becky
Thank you, Karen!