
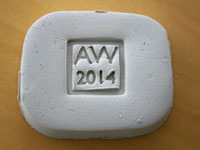
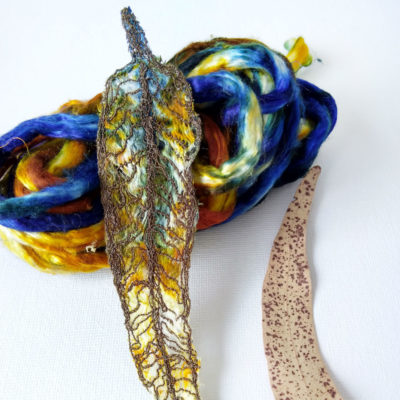
I wanted to create a small plastic stamp that would leave a signature and date imprint on clay. Another of my interests is ceramics, see my online gallery HandmadeArt . I’ve always wanted to have a bespoke stamp to put on the base of my work, to give a professional touch. Usually potters write their initials and date on their work, and though there are lots of letter and number stamps out there, finding something small enough has been an issue. I’ve also made some for my fellow potters for next year (those aren’t my initials in the photo).

The first step was to build a 3D model of the stamp, as time goes on with my adventures in 3D printing, I’m realising just how important it is to think about how the item will physically stand upright whilst its being printed out – something top heavy will fall over, something with steep overhangs will cause the layers of plastic to start drooping, and a small base will not adhere to the printer base plate, leaving the model to skitter across the printing area during printing – creating some very bizarre printouts.

In my 3D model (using Blender software) I divided the stamp into the main components parts: handle, base plate, stamp outline and lettering. The text component is quite hard to achieve, as it’s taken from a font and then converted to 3D, anyone with knowledge of editing a text font in graphics programmes knows the massive number of points / vertices that they have within them, keeping track of these in 3D is quite a task. The key problem is maintaining a solid object, as soon as a bit goes missing (a facet or edge), and they often do, then the model has holes in it, and this causes problems when exporting the 3D files to another program that will ready the model for printing.

The program that ‘creates’ a file ready for 3D printing is called a slicer program, the one I’m currently using is Slic3r which creates G-code files which are then uploaded to the printers operating system. The program does what is says in the title – slicing through the model in thin layers, which translate into each layer of the 3D print.

The 3D printer I’m using is the filament type (it puts down layers of heated up fine plastic filament) – this can be seen quite clearly in the image on the left. Watching the printer printing each layer especially for something like the handle of the stamp is quite addictive watching an object appear layer by layer (0.24mm thick) before your eyes.

The final learning was a very basic one…. if you want to create a stamp with words and numbers – the model has to have them in reverse or you will end up with a back to front imprint!


Angela Wood
Hi Karen,
This is fascinating! I didn’t realise so much work went into the design.
Keep up the good work
Angela Wood
2014