
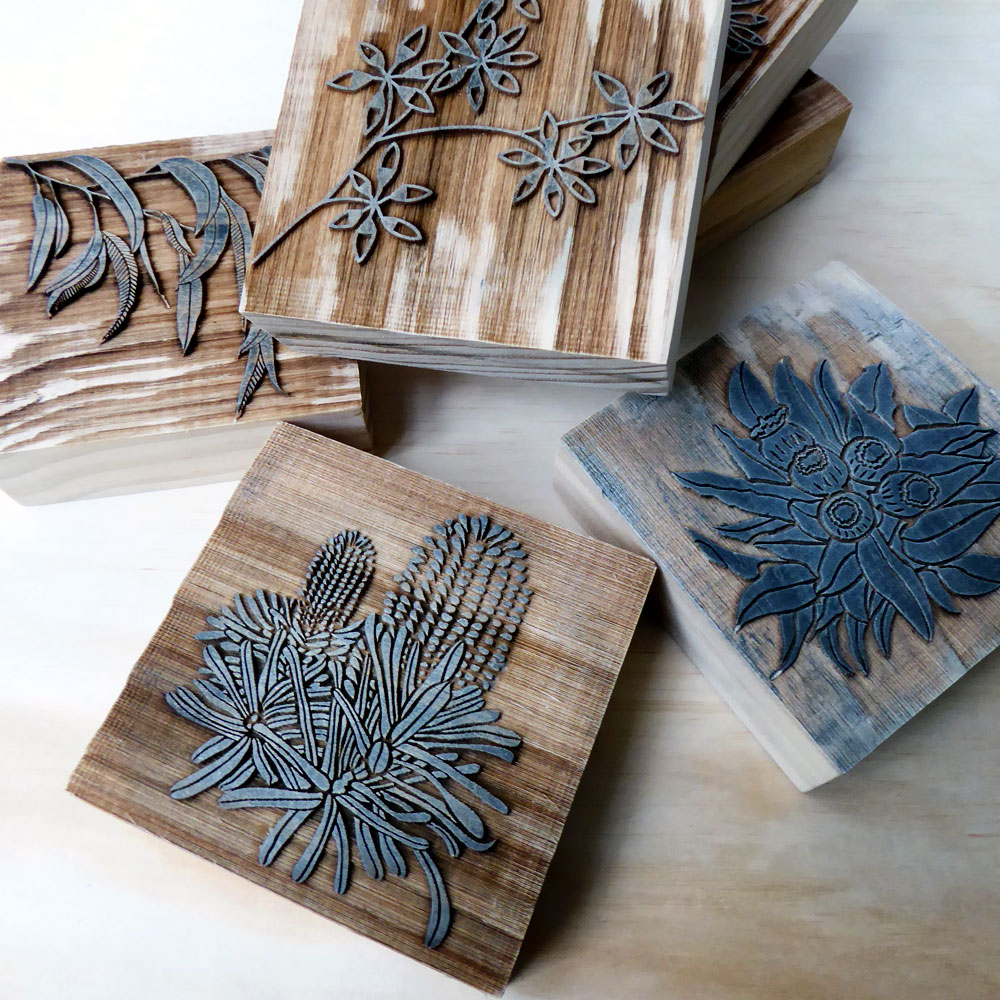
Australian Flora Laser Cut Wood Blocks 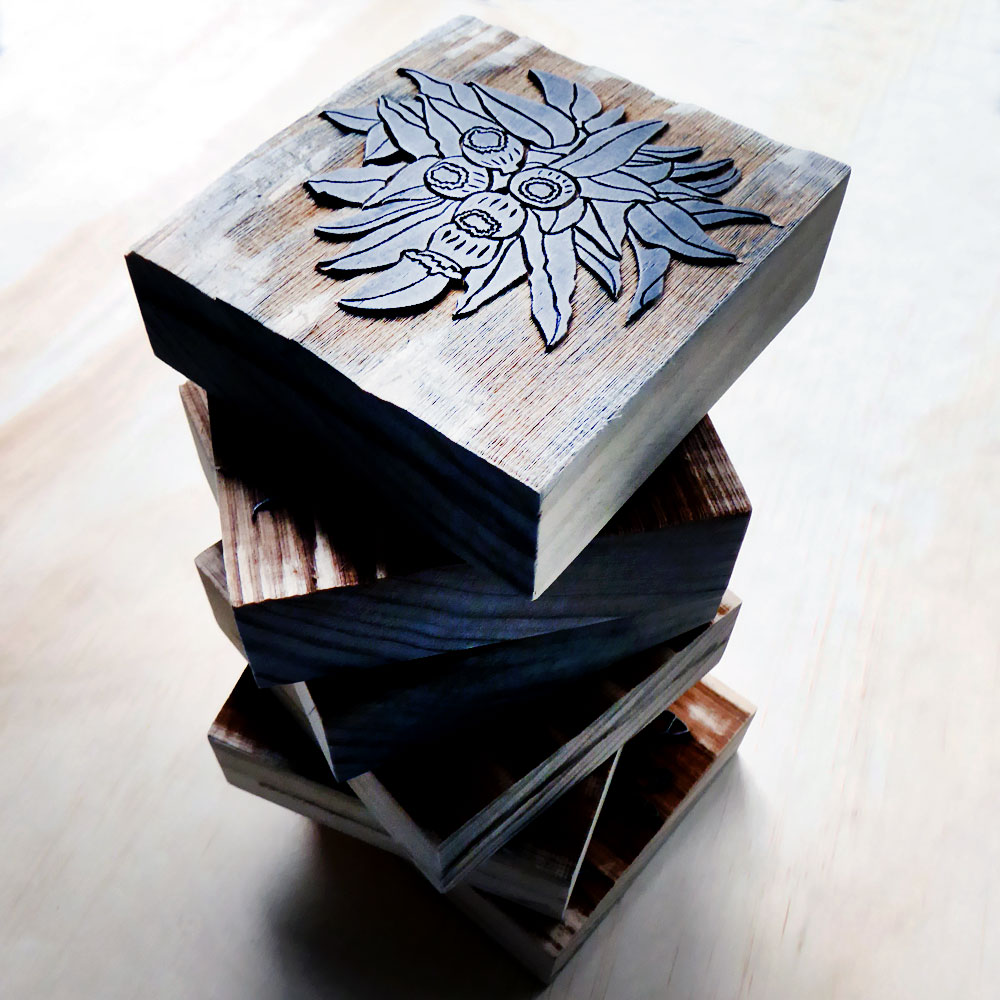
Gumnuts Laser Cut Wood Blocks
Before I produce my woodblock prints, my creative process goes through many stages. I often begin with field sketches and photos, then develop my ideas through a series of drawings and watercolour sketches.
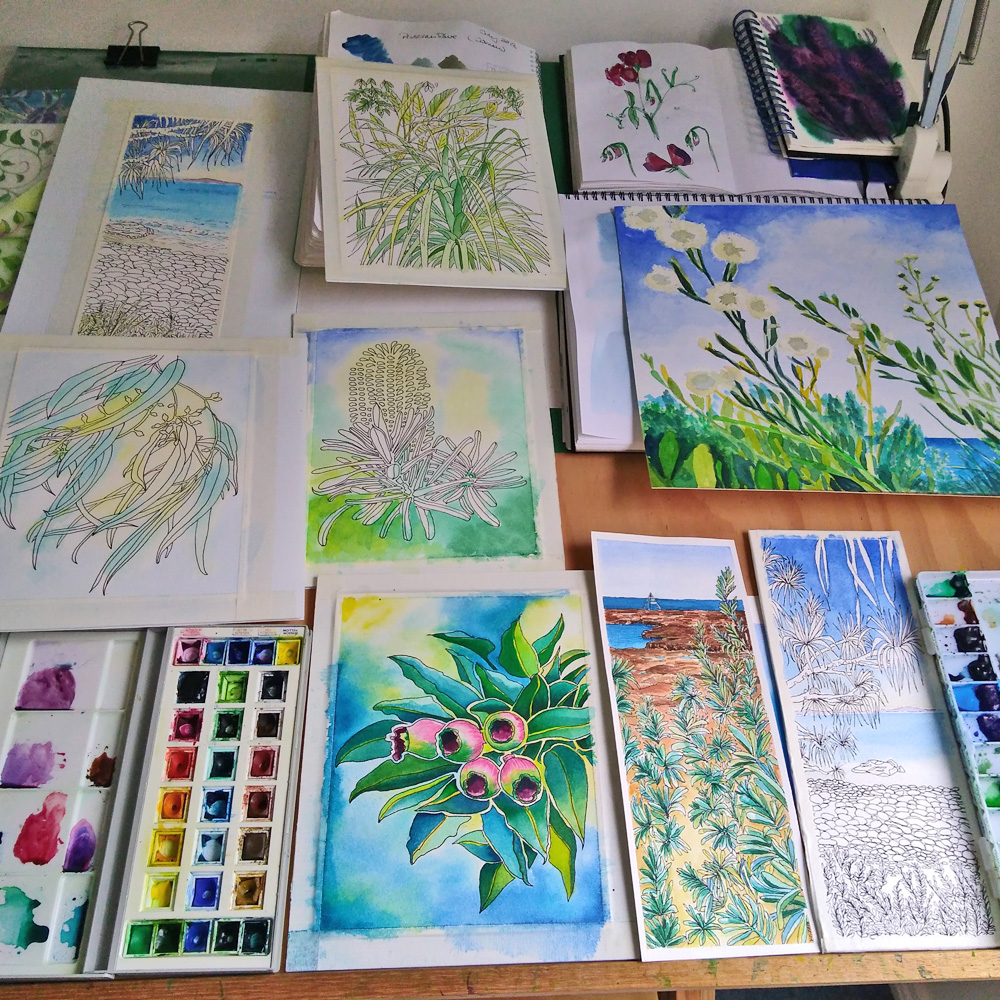
Sketches and watercolour studies on my drawing board 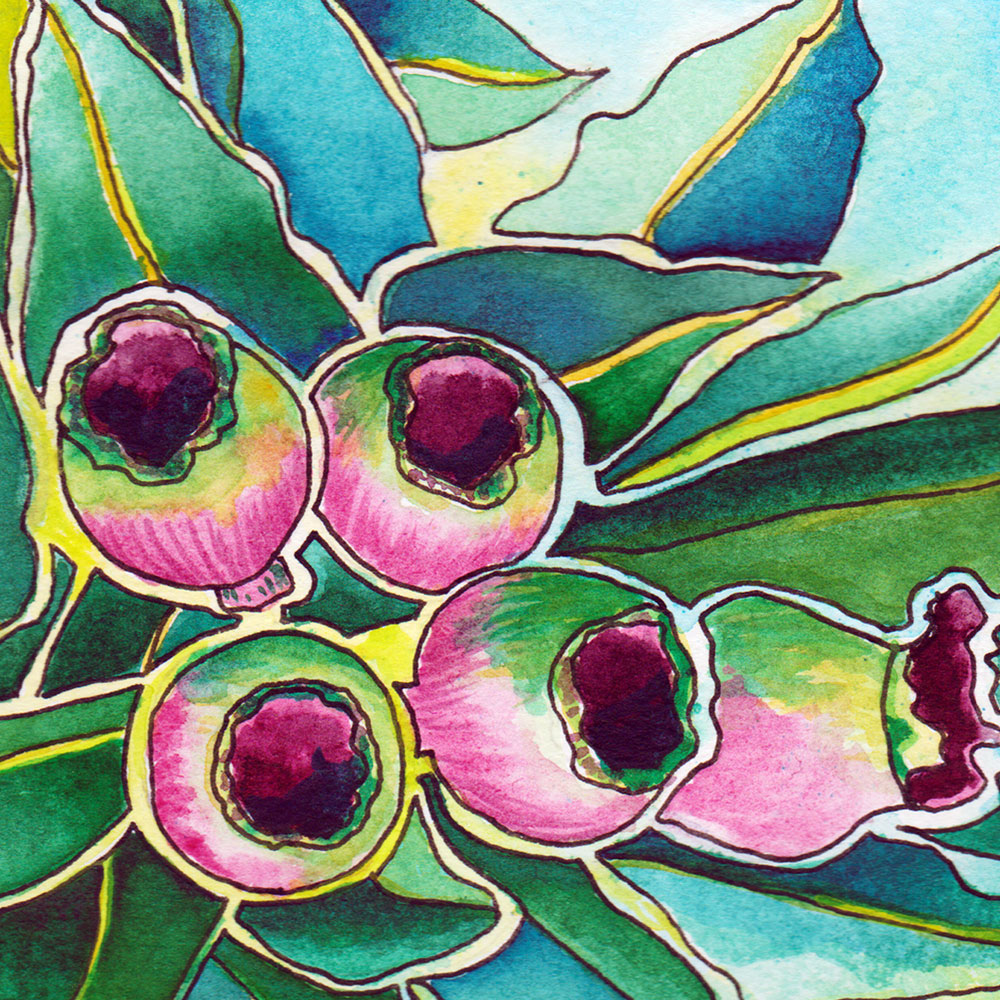
Gum Nut Watercolour ©KarenSmith
These stages help me to get to know my subject matter really well, in particular shape and form which are important elements of my finished designs. I strip down the details and enhance any distinctive elements until I have a design that will be suitable for printing.
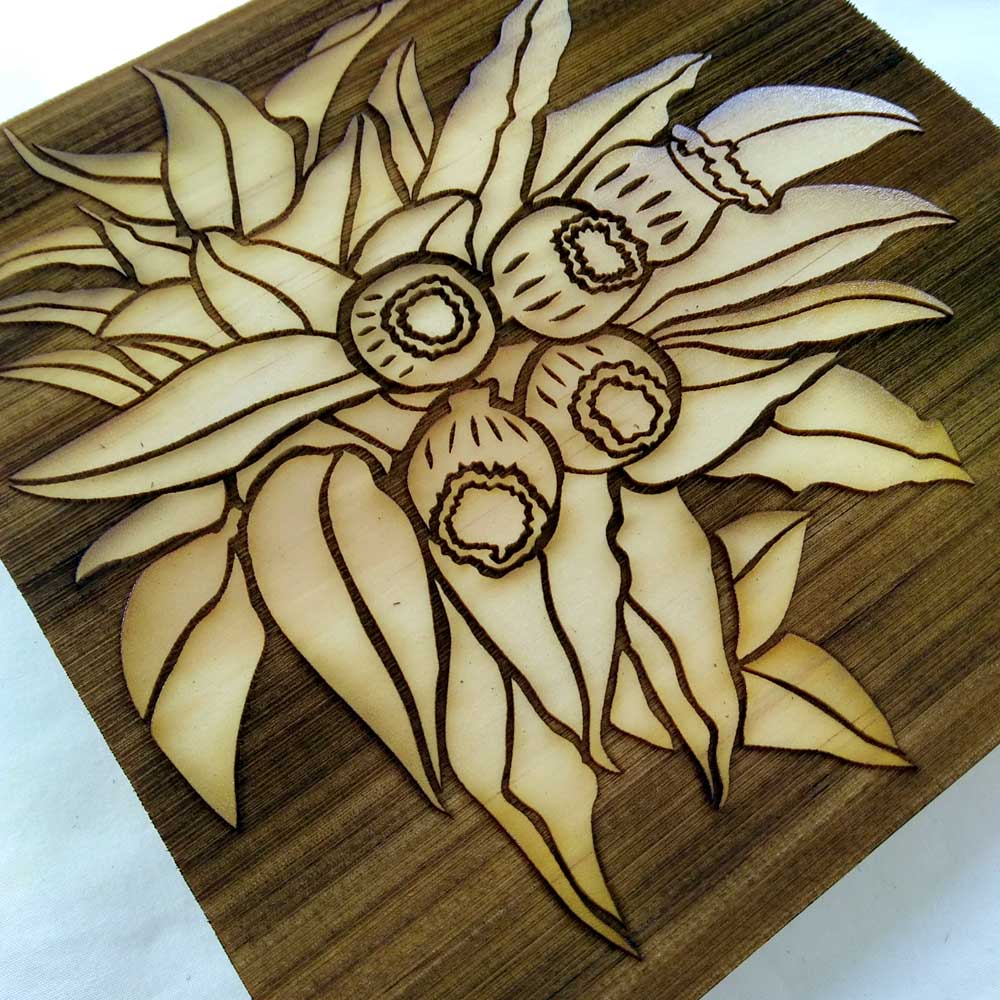
Laser cut Gum Nut woodblock 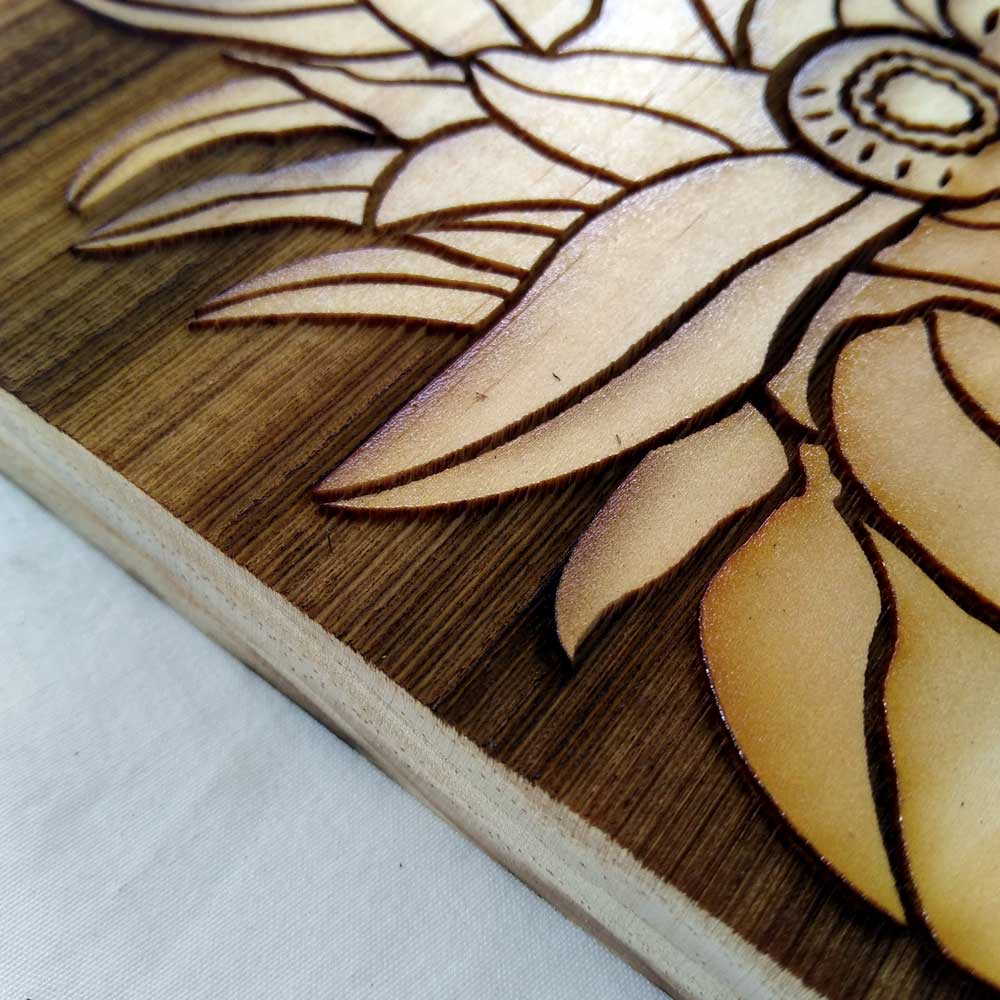
Laser cut woodblock detail, the pattern stands proud by 1-2 mm 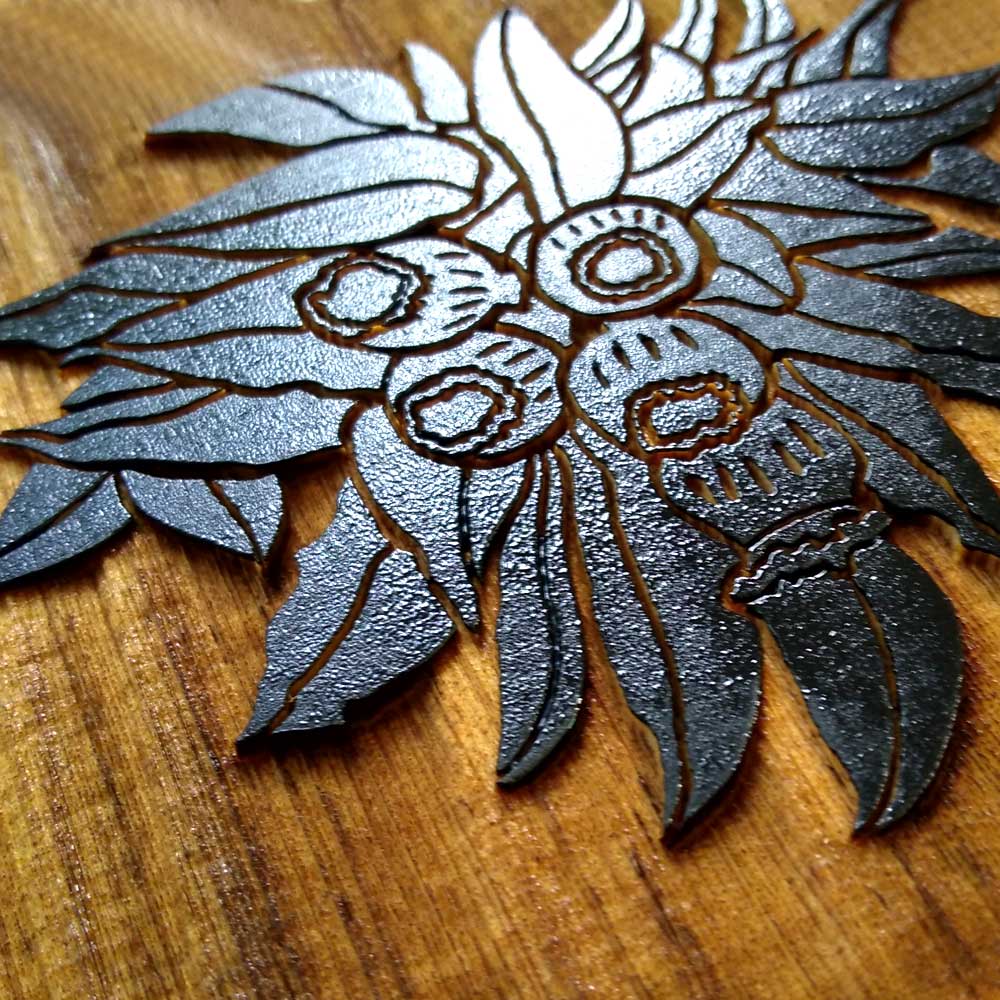
Laser cut woodblock inked up
From my hand drawn designs I hop onto the computer and create a digital image that can be transferred to a laser cutter where I create my woodblocks.
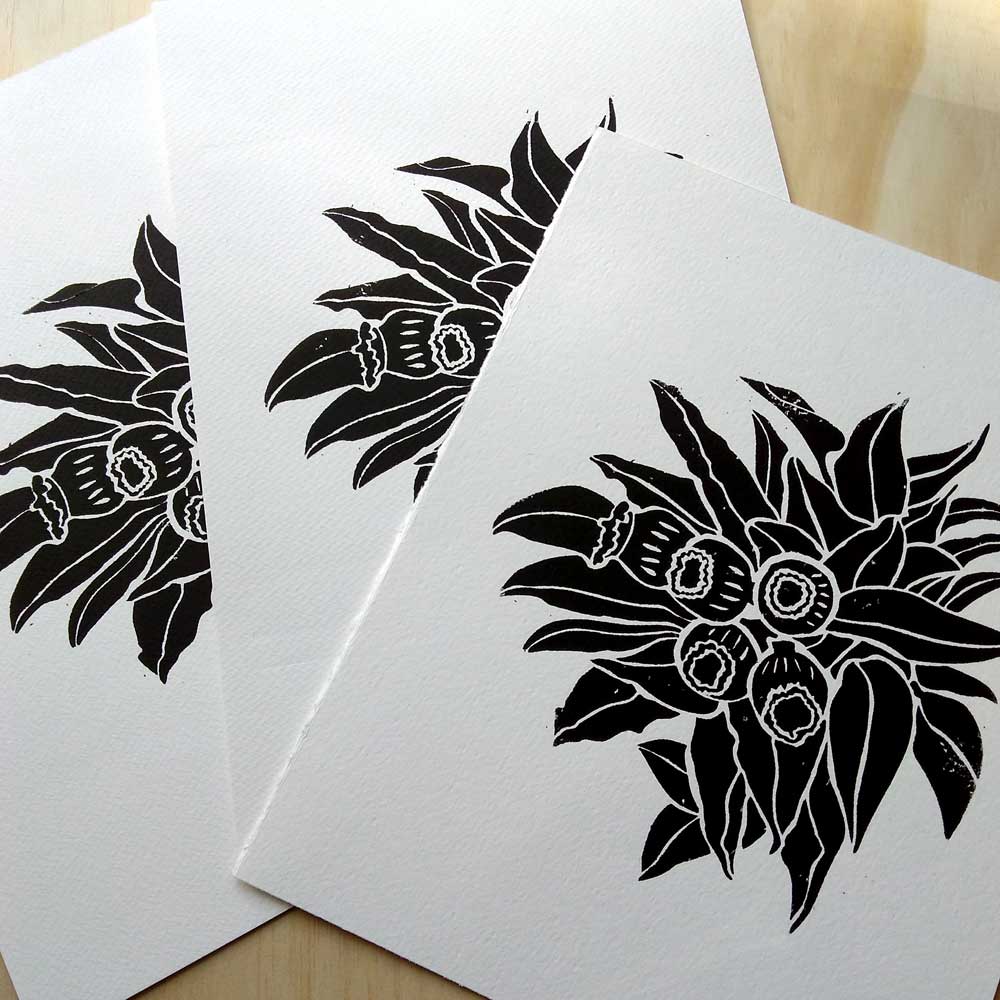
woodblock prints onto 300gsm cotton watercolour paper 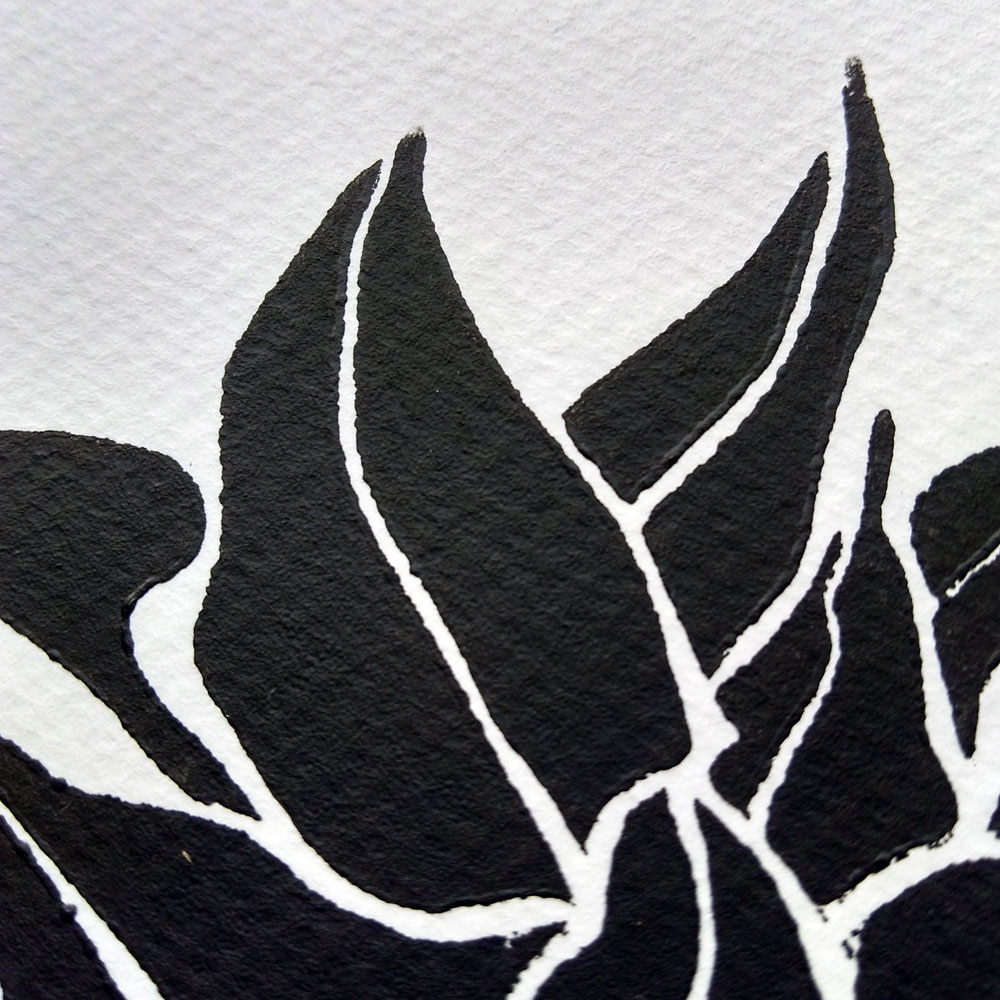
leaf detail – woodblock print using Derivan block print ink onto paper 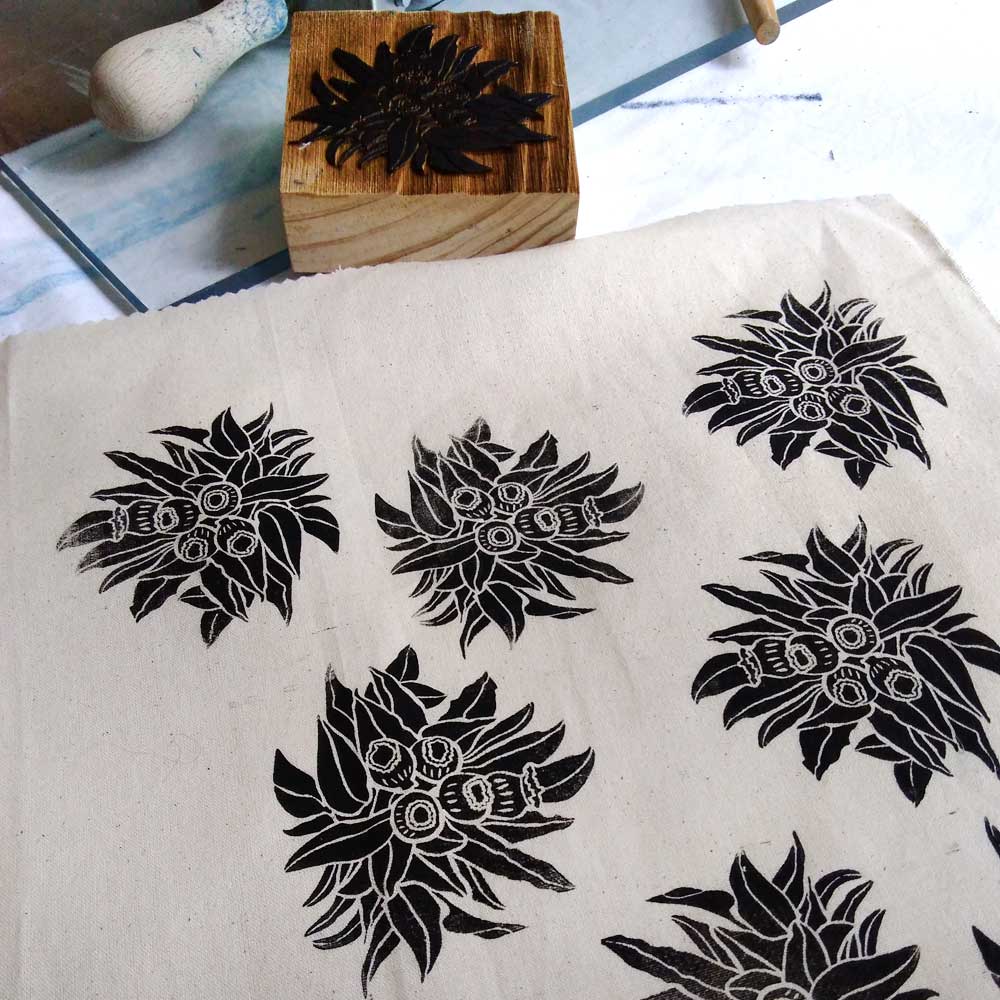
handblock print onto calico fabric using Speedball fabric block ink
For this gum nut design I have created two woodblocks for printing, one approx 9cm square and a larger one about twice the size. I use dressed pine for the blocks, and water based inks for both paper and fabric printing.
The nature of hand block prints mean that no two pulled prints will be exactly the same, which adds to the excitement of printmaking.
GumNuts Woodblock Card 4 ©KarenSmith 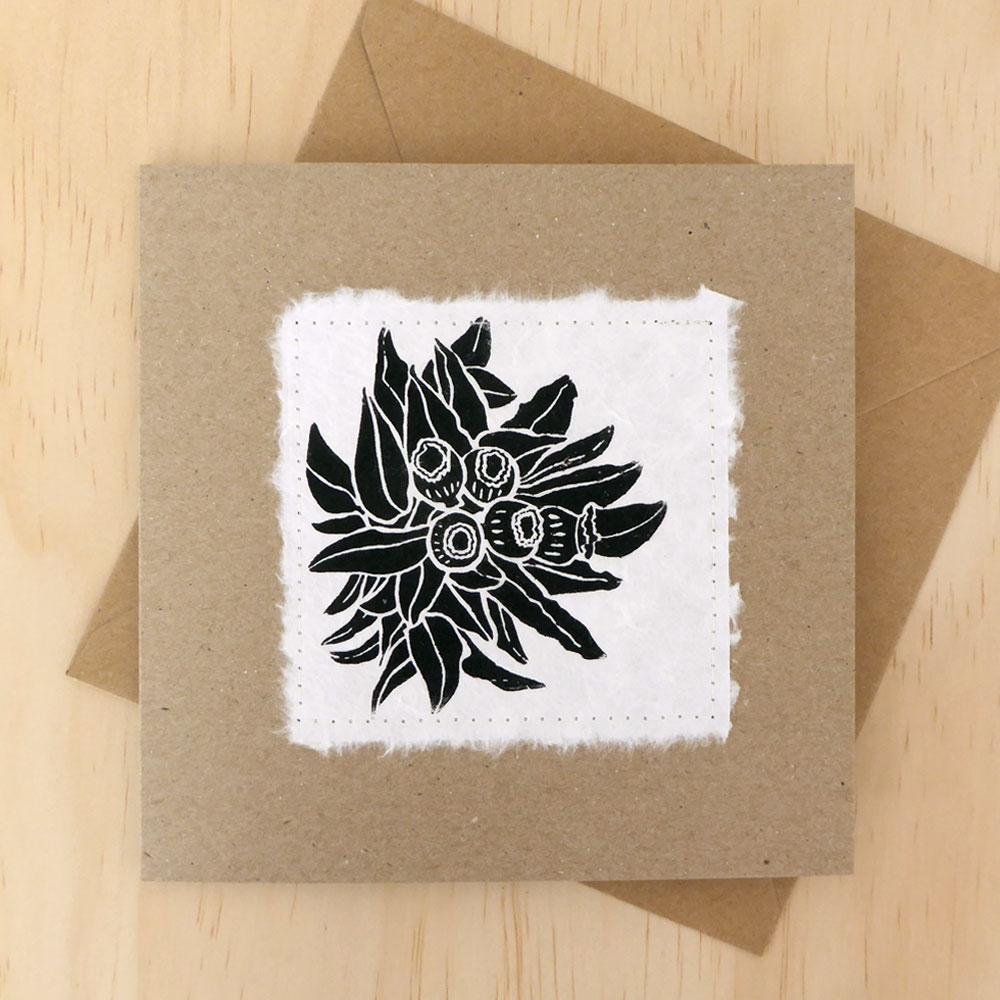
GumNuts Woodblock Card 1 ©KarenSmith 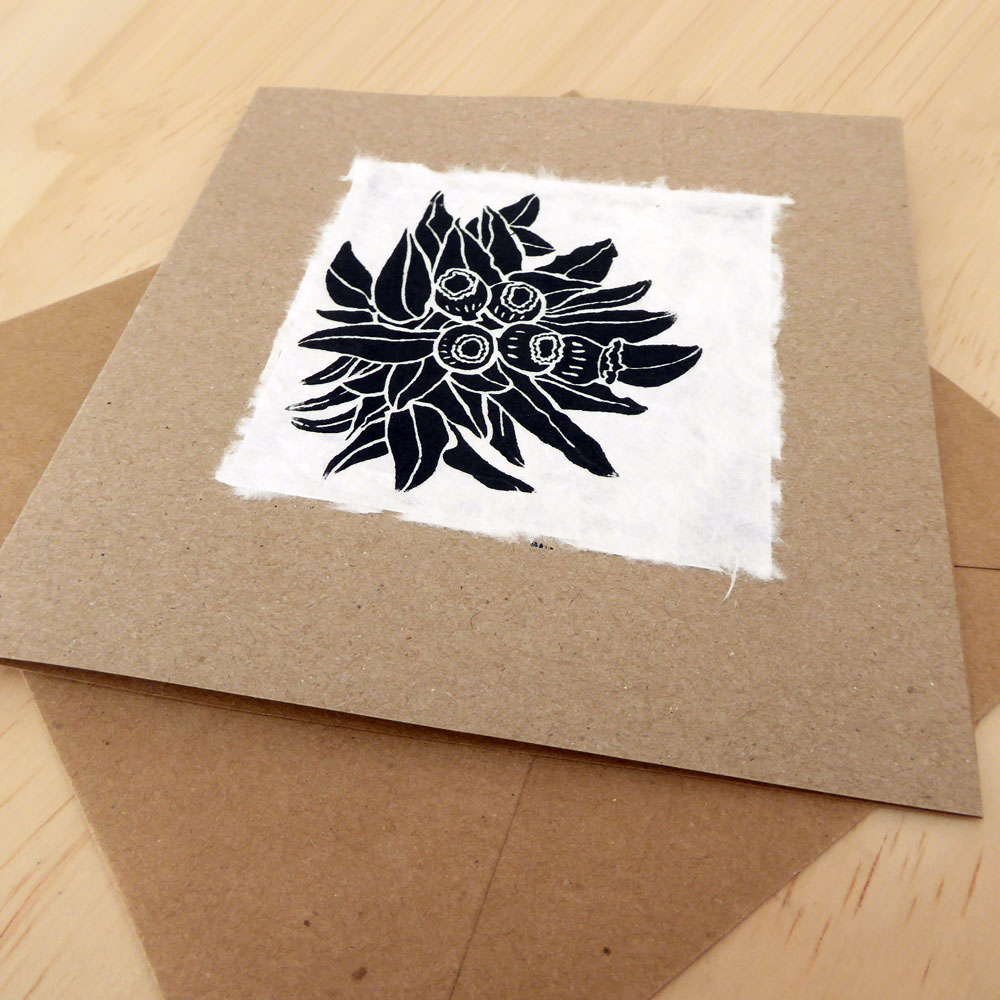
GumNuts Woodblock Card 3 ©KarenSmith
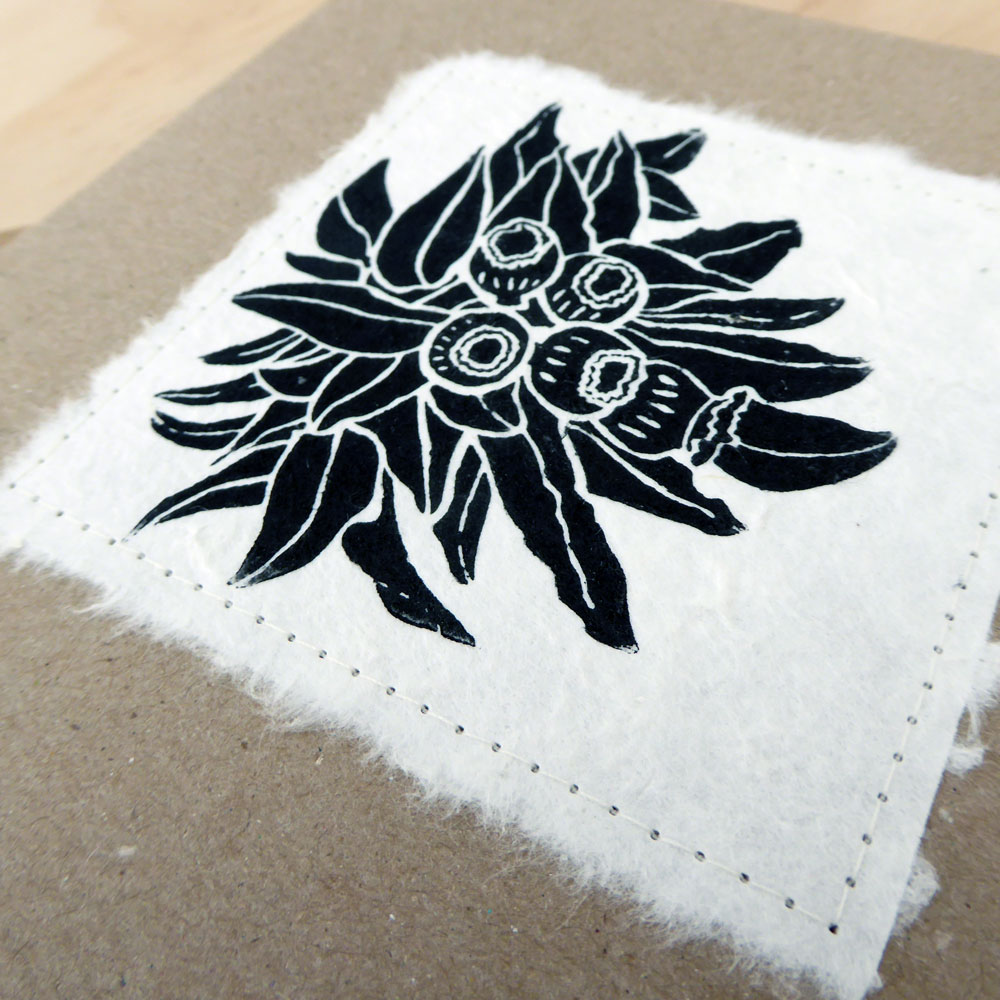
My latest prints were onto handmade cotton paper, the paper was really absorbent and the prints came out beautifully with great definition of line, I have mounted them onto card to create greetings cards – now available in my shop.
Karen’s top tip
When creating designs on the computer, particularly when using vectors. Bear in mind how big your finished print will be. Its really easy to get lost in the process, when you are zoomed in on a computer screen and end up with a lovely, but far too intricate design.
I print out 1:1 proofs regularly during the design process, to keep a check on my love of detail !