
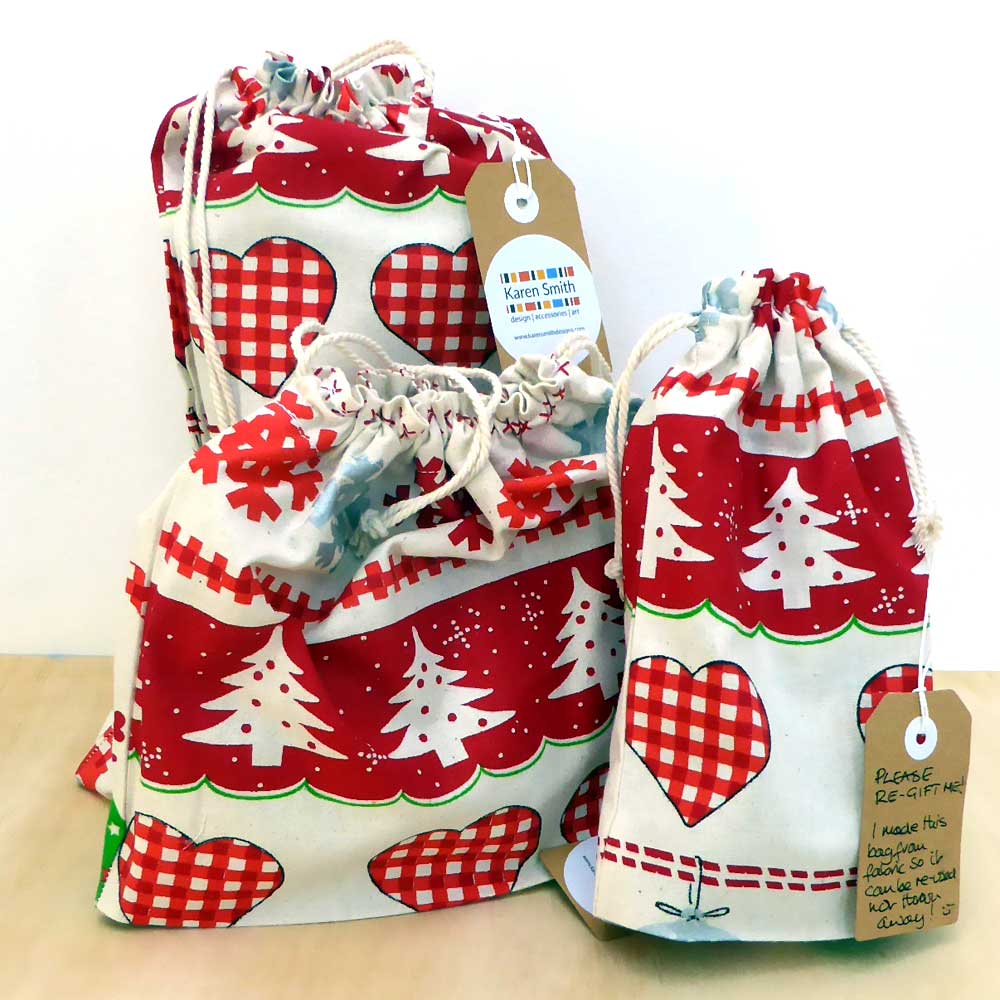
This year I’m encouraging friends to re-gift my presents! Well, the gift bags anyway, I’ve made some drawstring fabric bags, and am giving (usually handmade) gifts in these re-usable bags, with an encouraging label to pass them on.
These bags are pretty easy to make if you are a sewer, and can be made to fit the gift inside, I’ve put together a step by step tutorial for anyone to use, as I feel its really important that we share any of our ideas for recycling.
I made my bags using a sewing machine and an overlocker, but you can comlpete this bag easily with just a sewing machine, I have written the instructions for those of you with just a sewing machine, and those lucky enough to have an overlocker / serger as well.
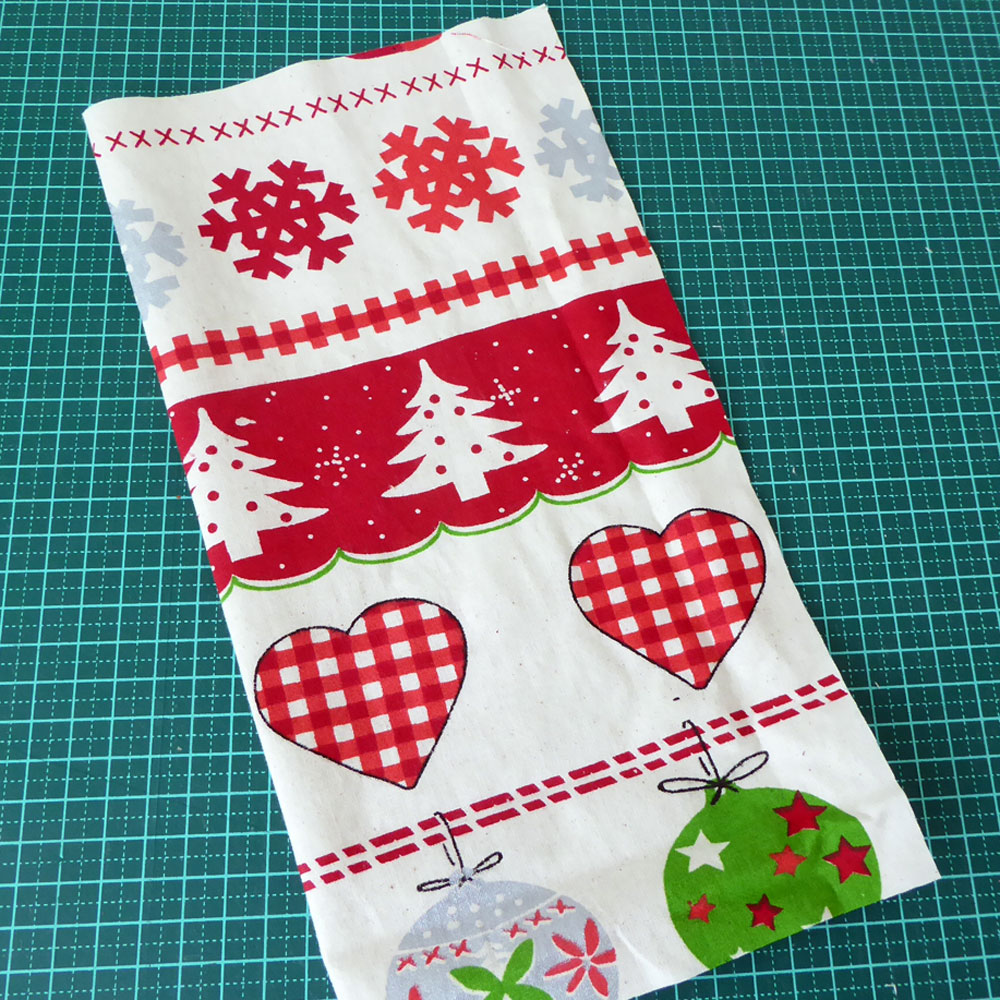
For my bags I used a printed calico cotton, a natural fabric with a bit of stiffness seems to work well and holds its shape, I would suggest using heavy dress material or lightweight upholstery fabric. If you can, use up fabrics you already have – I bought my fabric back in a sale some months ago.
Re-gift Bag 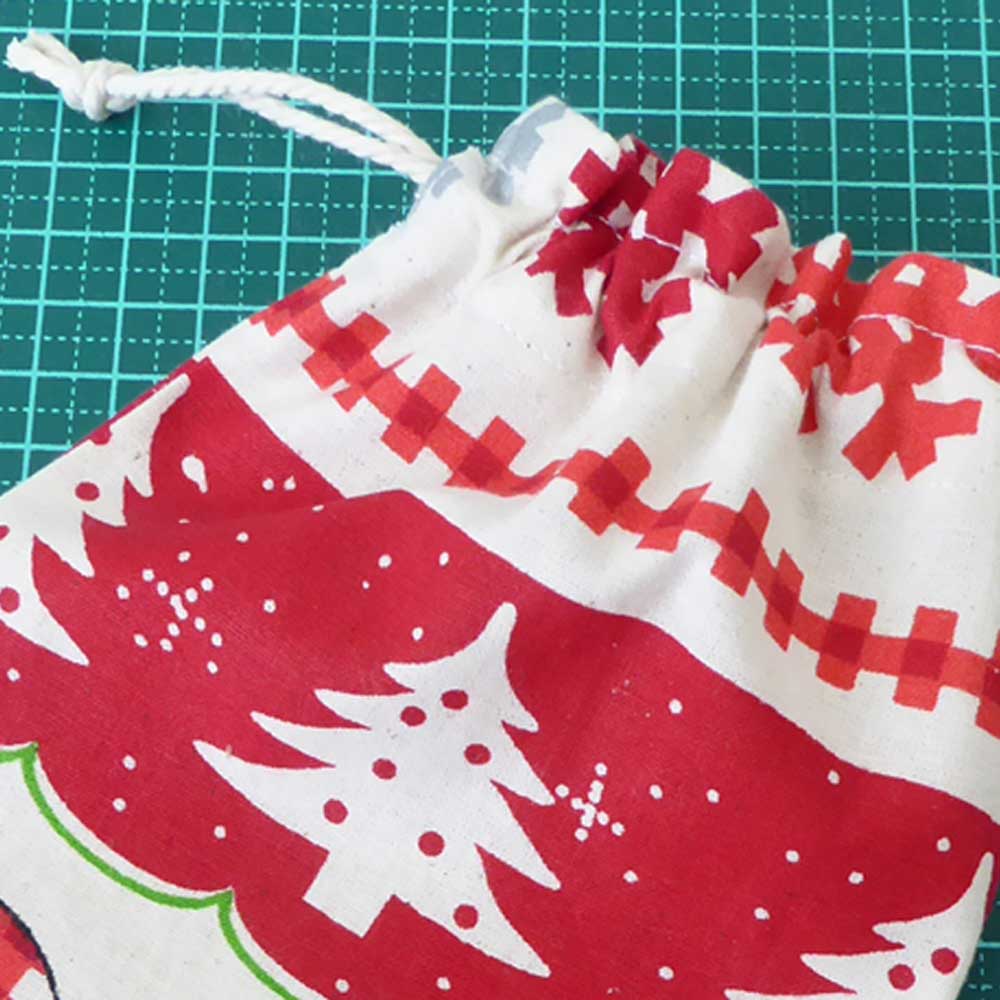
Re-gift Bag 
Re-gift Bag
You will need
- Fabric & thread
- Drawstring material -thin string, thin ribbon or lightweight cord
- A clear flat work surface
- A sewing machine
- An over locker / serger machine (optional)
- Scissors
- Rotary cutter (optional)
- Thread un-picker / ripper
- Pins
- Marker pen that will erase with heat or water or chalk
- Large blunt needle or safety pin
Construction
1. Estimate your fabric requirement
Spread out a single layer of your chosen fabric on a flat surface. I use a gridded cutting mat to help me get the edges straight.
Estimate the amount of fabric you will need by placing your gift on top of the fabric and loosely wrapping the fabric around your gift.
If you want to make the most of a design on the fabric remember you will fold over about 1¼ ” of fabric from the top that won’t be visible on the bag. Prepare your fabric for cutting by pressing with an iron.

place gift on fabric 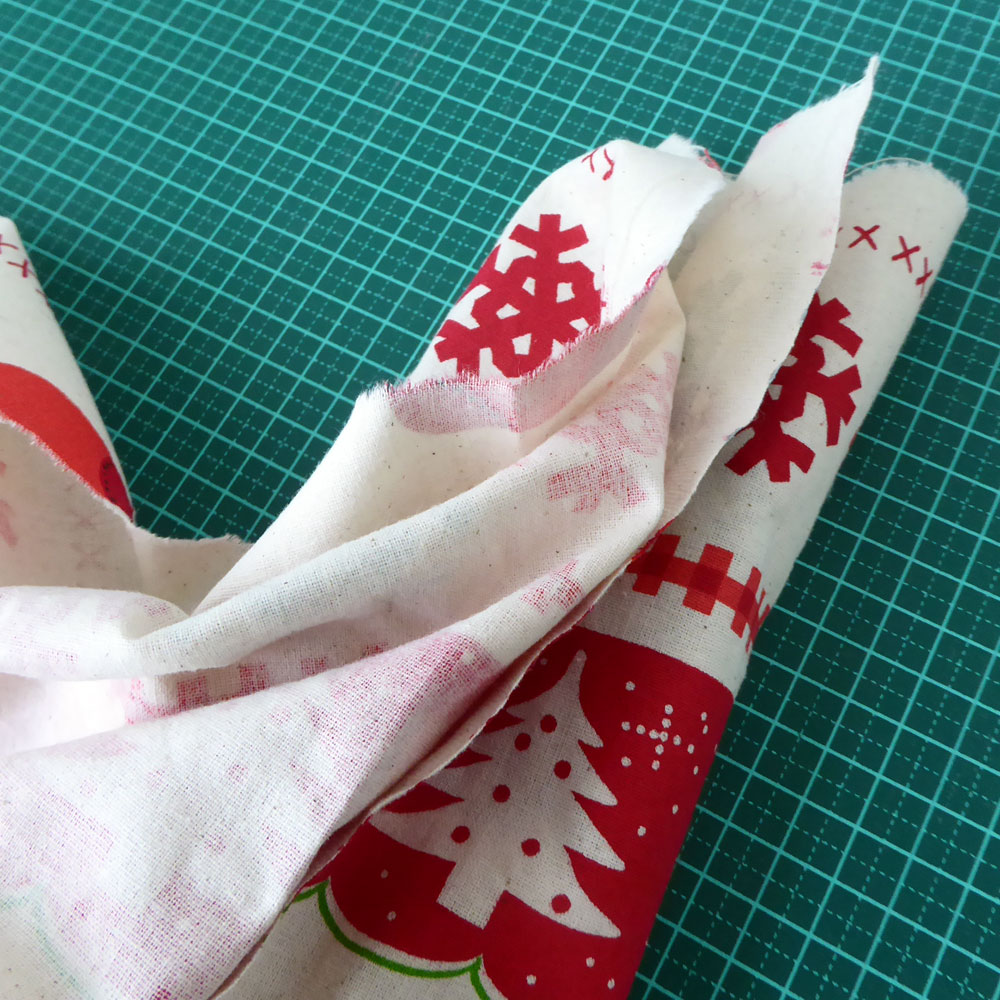
Loosely wrap fabric round gift 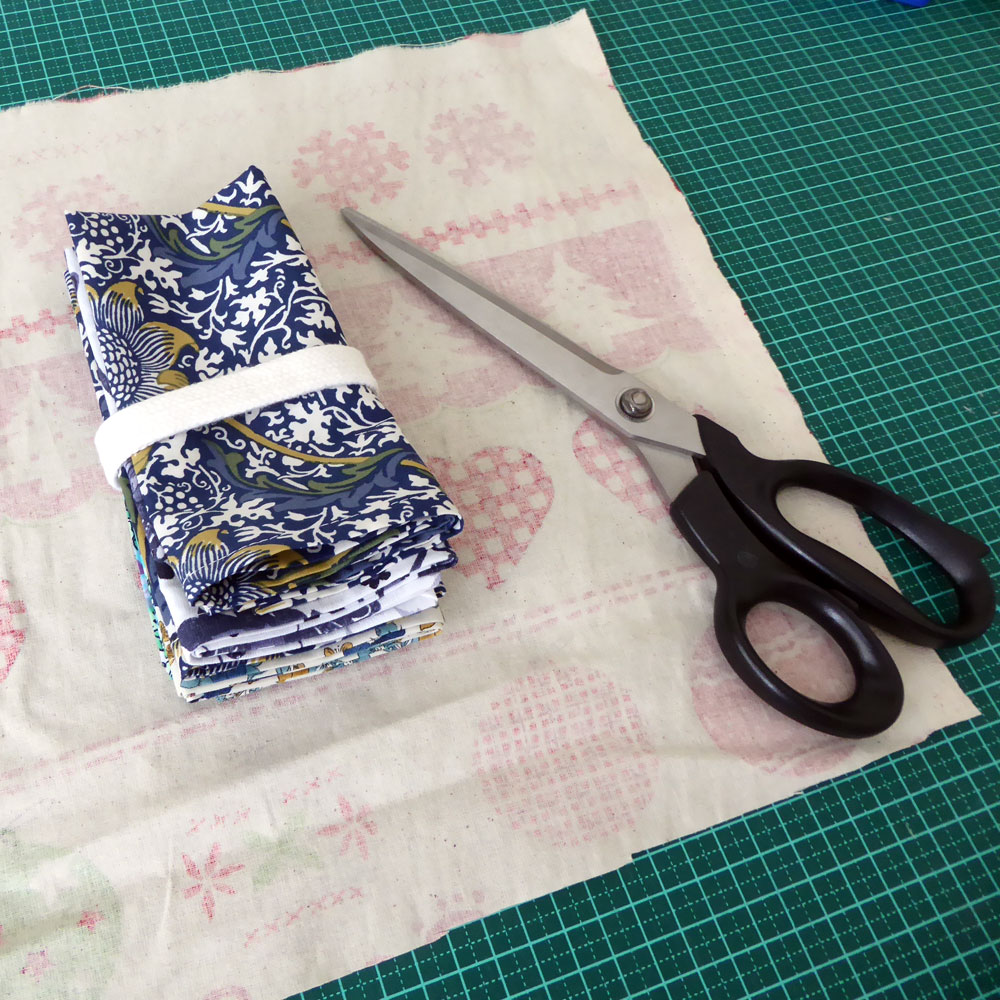
Cut out a square of fabric
2. Cut your fabric
Cut out a square or rectangle of fabric to your estimated size, if the fabric has a definite linear pattern (as mine does) try to line up the pattern lines with your cutting lines.
Fold your fabric in half, wrong sides together, cut along the fold line to create two pieces of fabric. This will create 2 side seams that are needed when we get to the stage of threading the drawstrings through the top edge of the bag.
Trim all four edges so that they are straight. Either draw lines with a ruler and cut along with scissors, or use a straight edge ruler and a rotary cutter.
fold fabric in half 
trim fabric edges 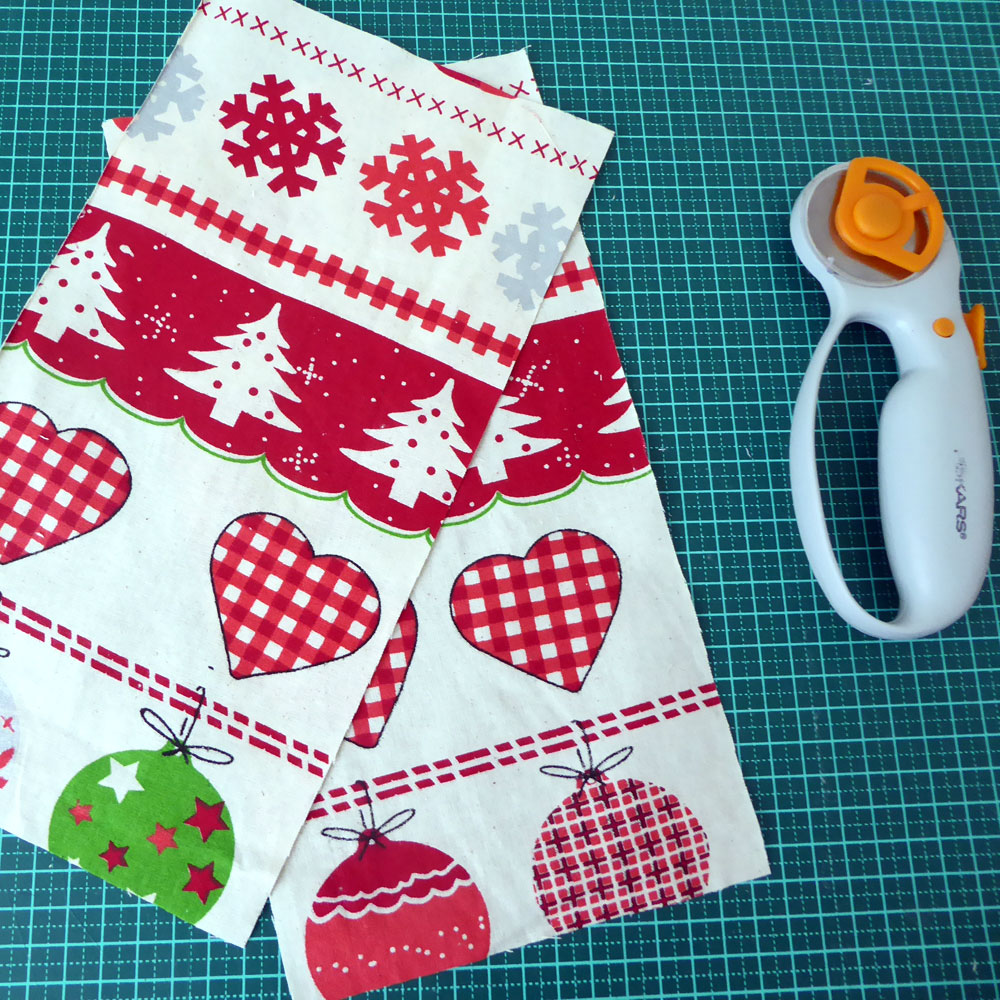
2 trimmed fabric pieces to form the front and the back of the bag
3. Start stitching the seams!
With right sides together, join the front and the back fabric pieces together along the lower edge with a line of stitching.
You can do this either with a straight stitch (recommended stitch length 2.5) and finish raw edges with a zig zag stitch, or use an over locker / serger to stitch seam and enclose raw edges at the same time. In both cases trim threads at start and end of stitching.
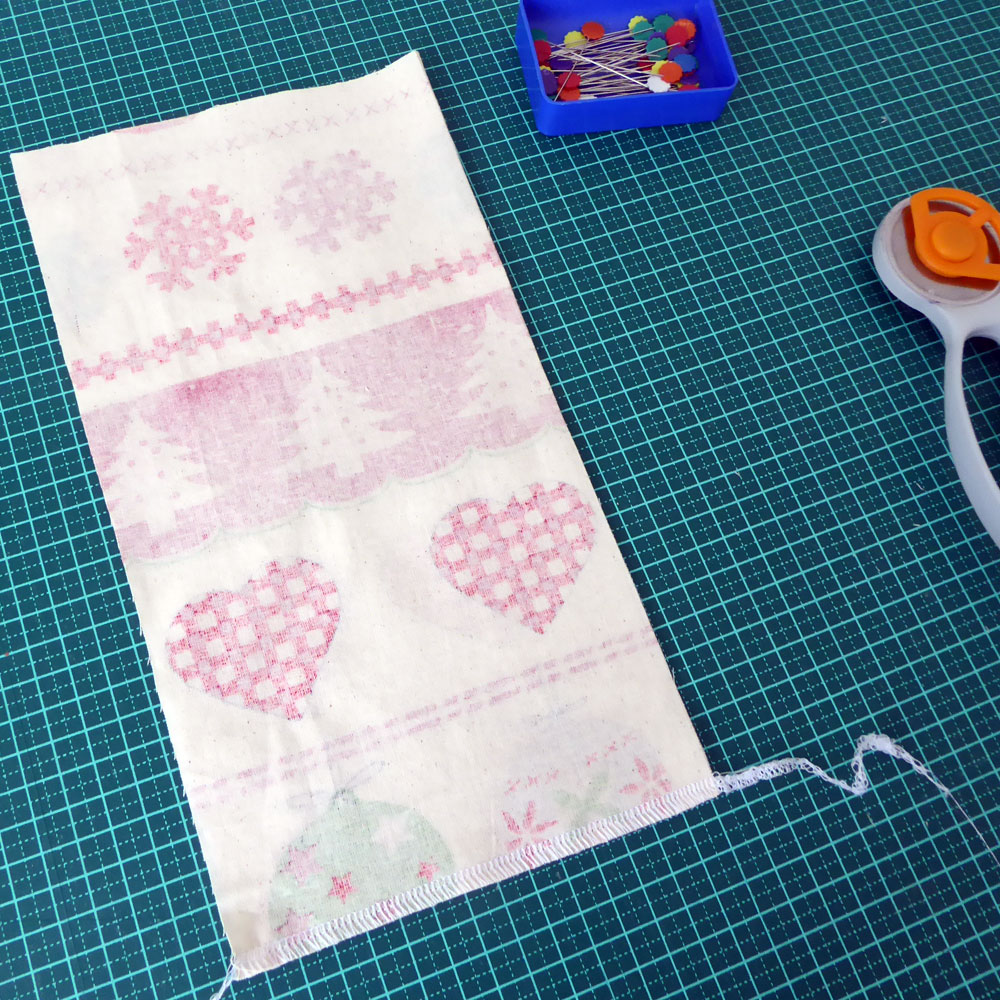
sew lower edge seam 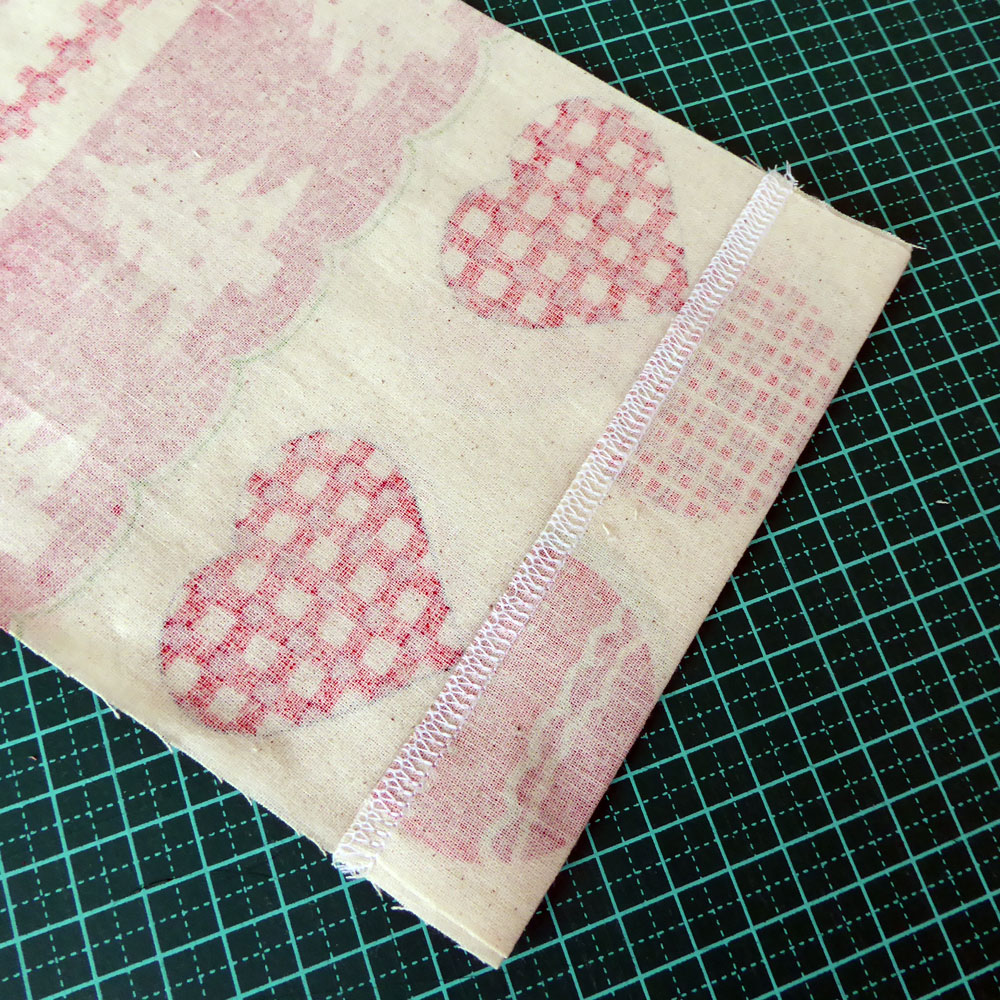
fold up bag bottom seam 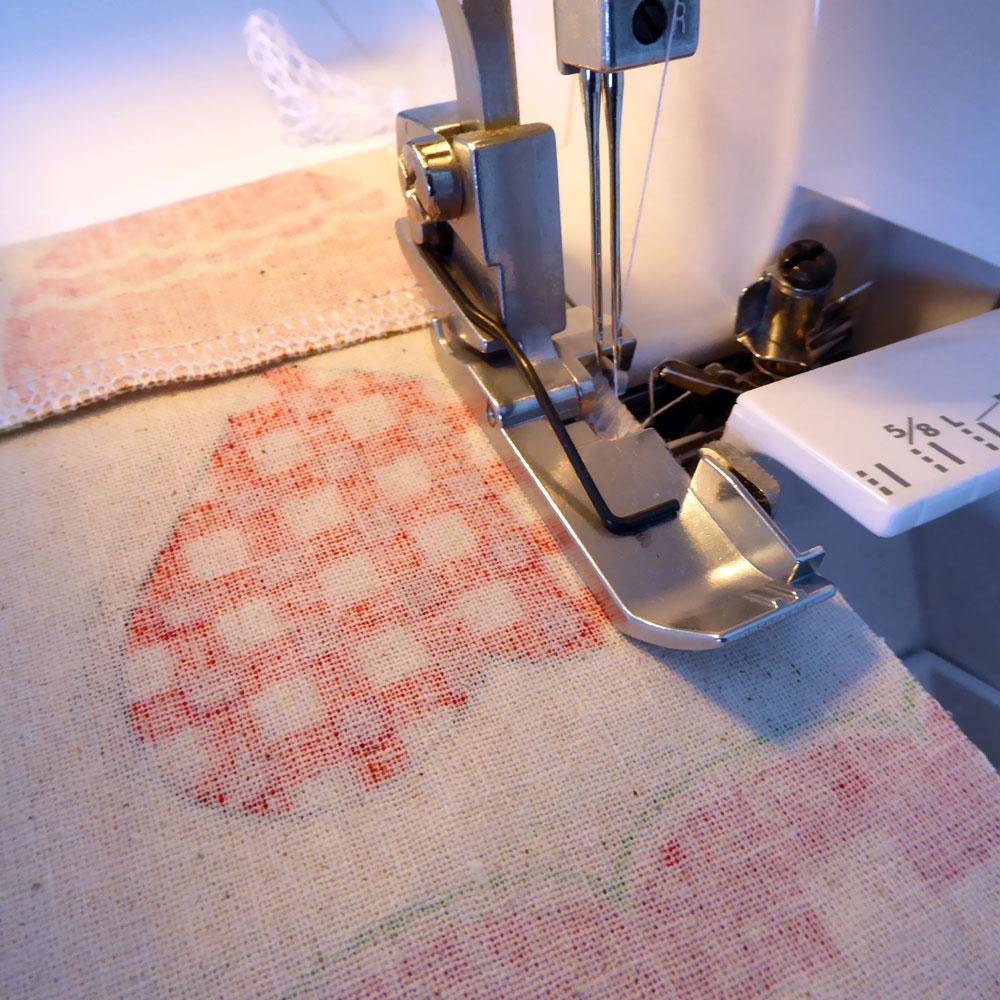
sew side seam
Fold up bag bottom seam by approx 25mm or 1″, or if you have a particularly boxy gift, roughly measure it’s depth, divide in half, and fold up the lower edge by this amount. For example I would turn up a bag that will be used for a bottle of wine by 50mm or 2″. Press with an iron.
sew side seam 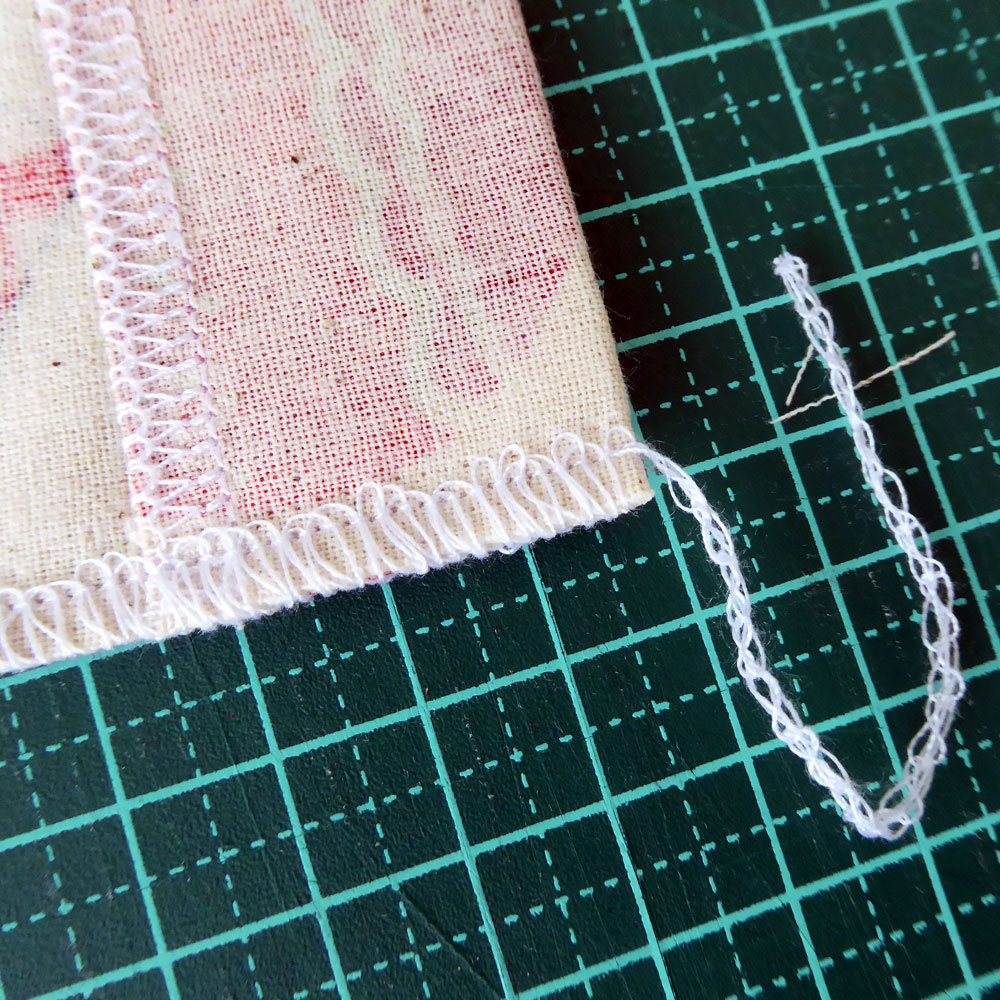
over locker thread chain 
thread chain sewn into side seam
Sew both side seams of bag together. If using a sewing machine reinforce the stitches at the bag bottom end of the seam using the reverse function. If using an overlocker, leave a 50mm or 2″ thread chain at lower edge (top edge will be enclosed in a hem so can be trimmed off). Thread the chain onto a large needle and thread through the loops of the side seam and trim to finish.
4. Measure and fold drawstring hem
The top hem on the bag needs to be deep enough to accommodate your drawstrings.
With bag turned inside out, begin by turning over a 6mm or ¼” hem, press in place. Turn over a further 25mm or 1″ of fabric to create the main drawstring channel. Use a ruler to help make sure you have the right depth. Press with an iron. Pin top in place if you need to.
turn over 1/4 ” top seam 
turn over further 1″ top seam
5. Make drawstring openings
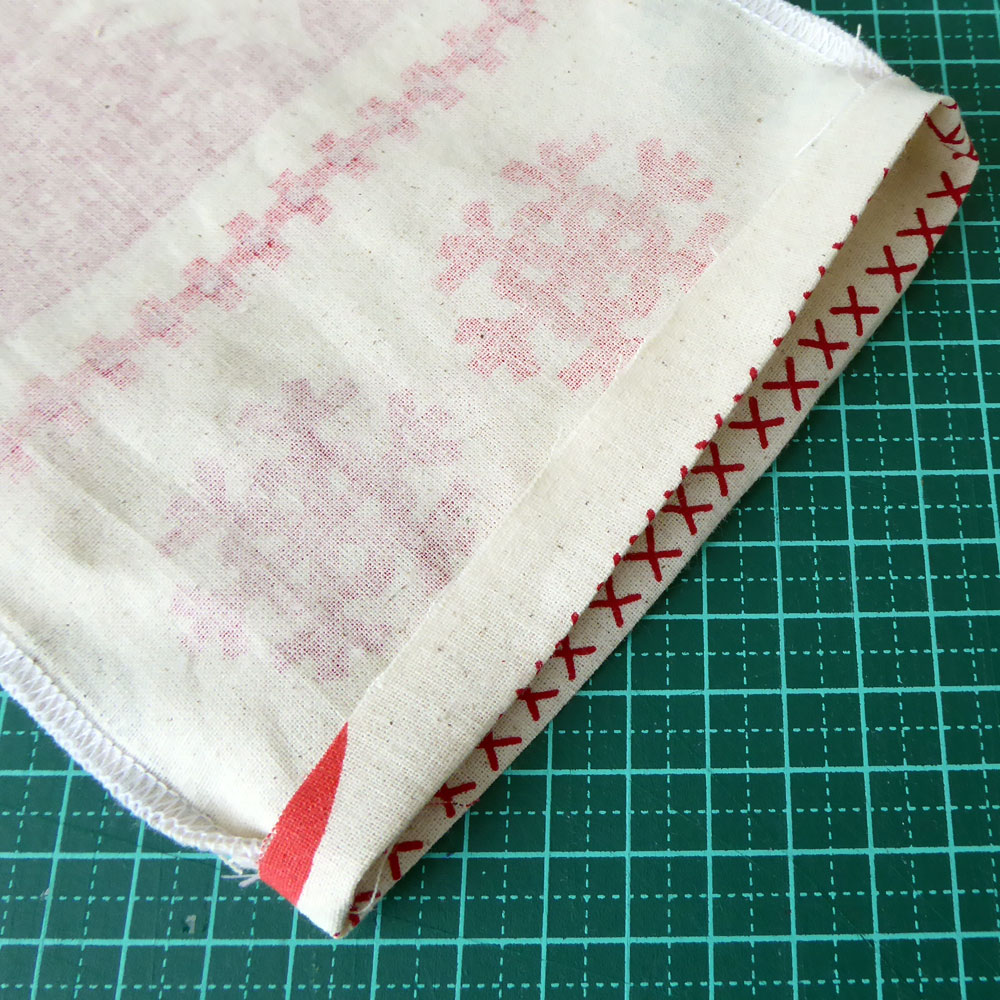
Turn bag right side out and mark an opening on the side seams of the bag where your drawstrings will be pulled through. This opening has to be within the boundaries of the 1″ top hem. I used a pen that erases with heat (from the iron) or you can use a washable pen or chalk pen, but as you will be marking the outside of the bag you don’t want to use anything permanent.
mark opening for drawstring 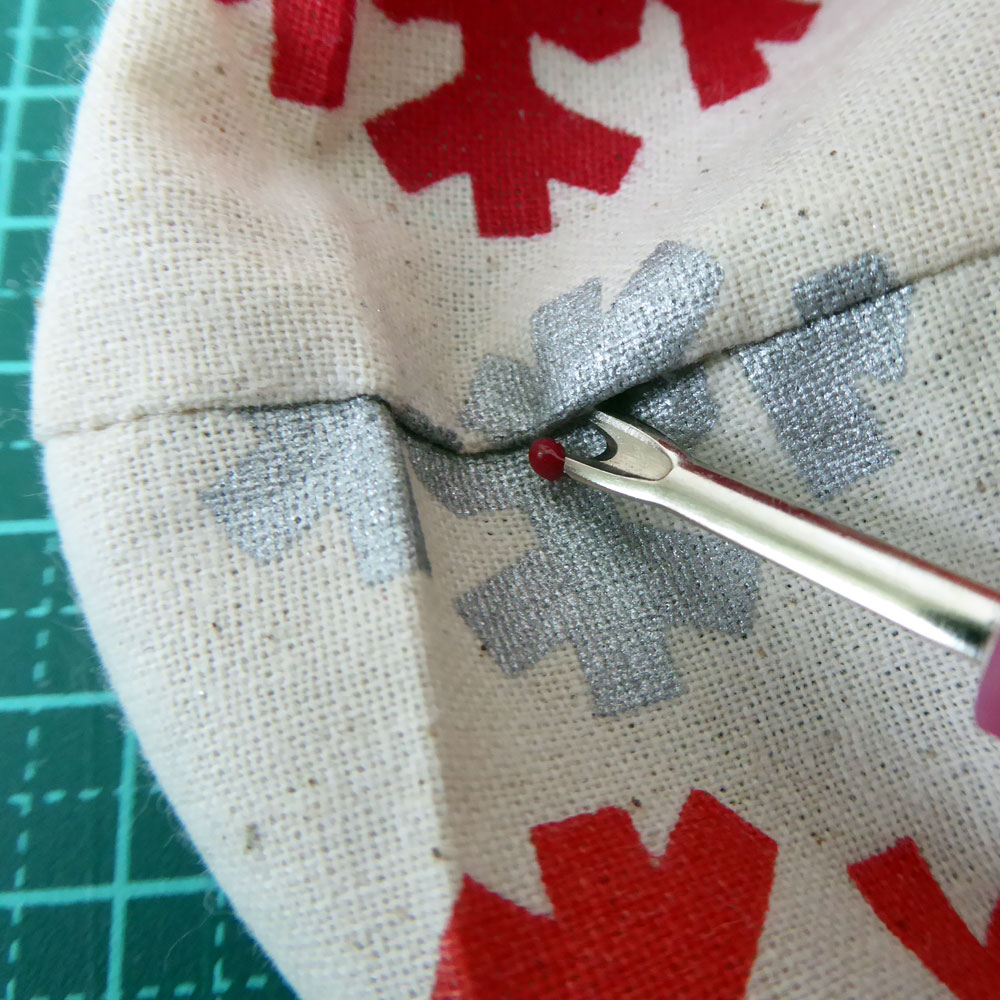
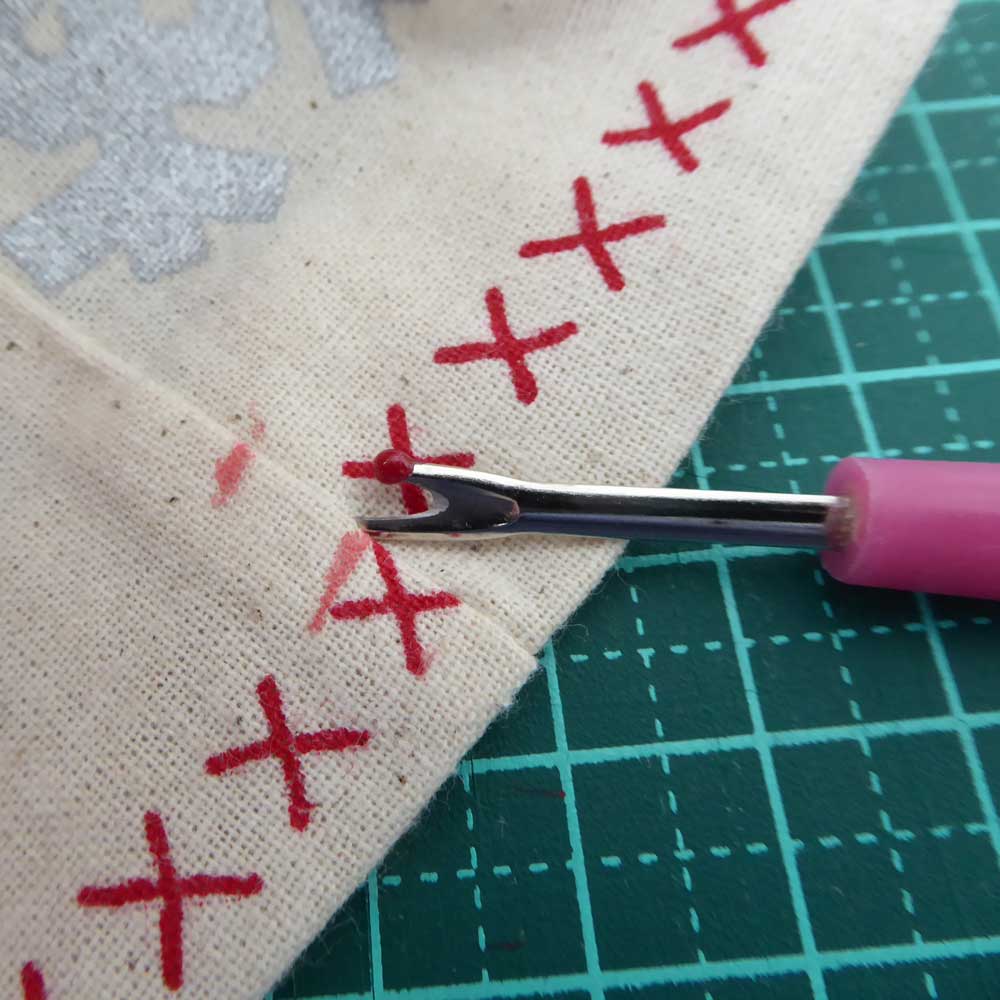
unpick side seam for drawstring 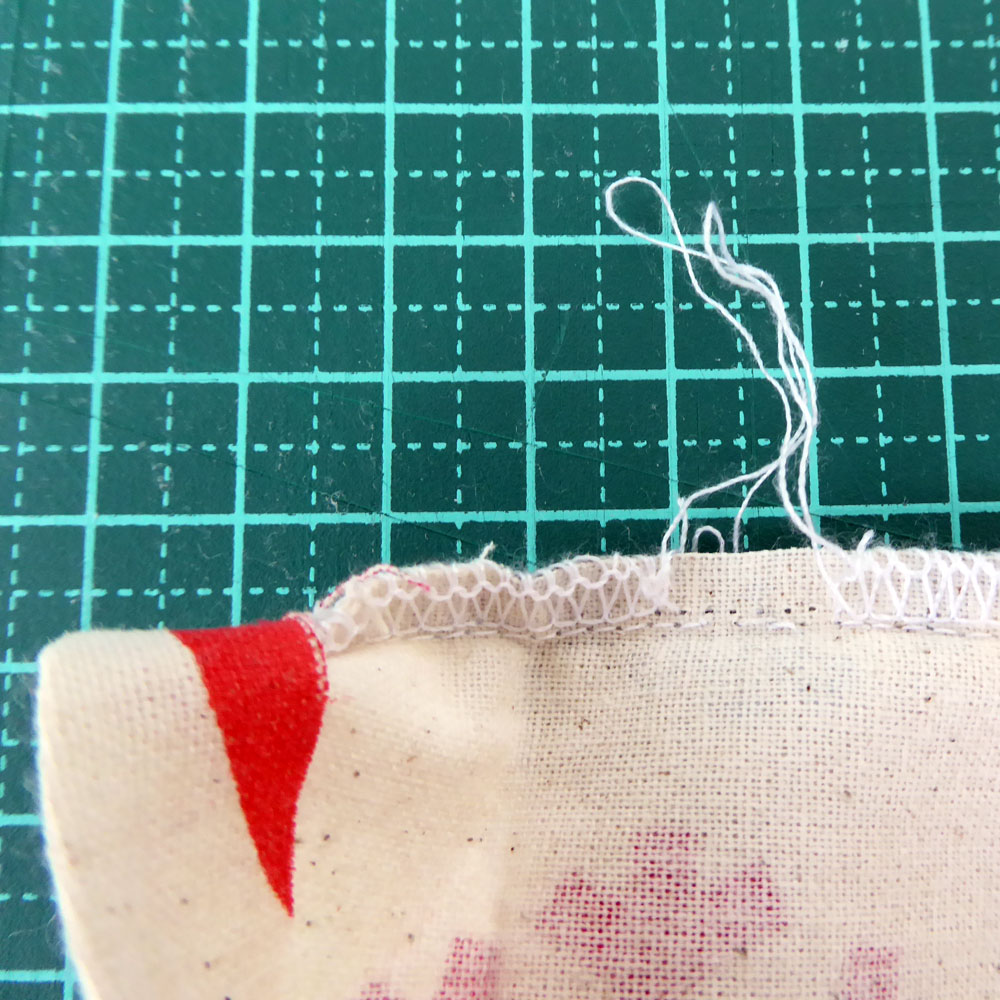
unpick side seam for drawstring
Using an unpicker / ripper cut through the side seam stitches between your marks, turn the bag inside out and completely unpick this section of the seam. This forms the little holes in the side seam that you will pull your drawstring through.
sew around opening to secure side seam 
yellow lines indicate stitching line
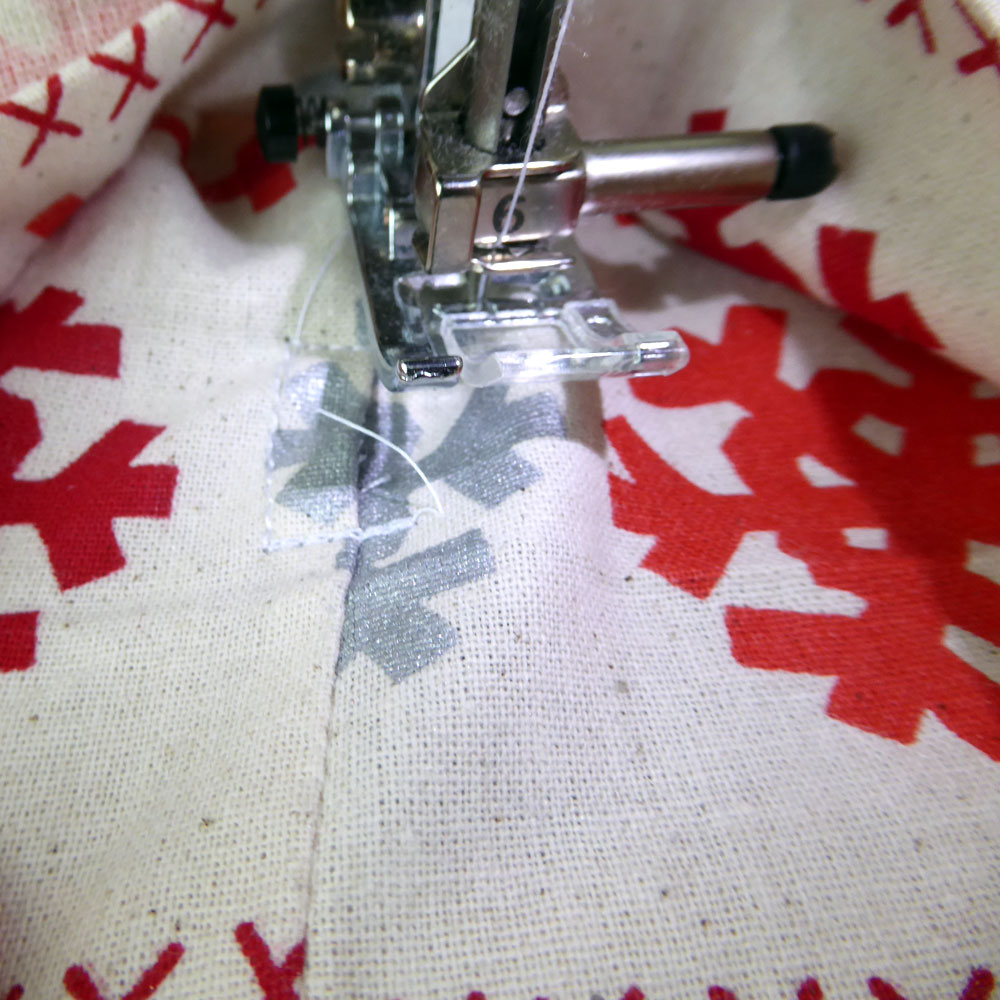
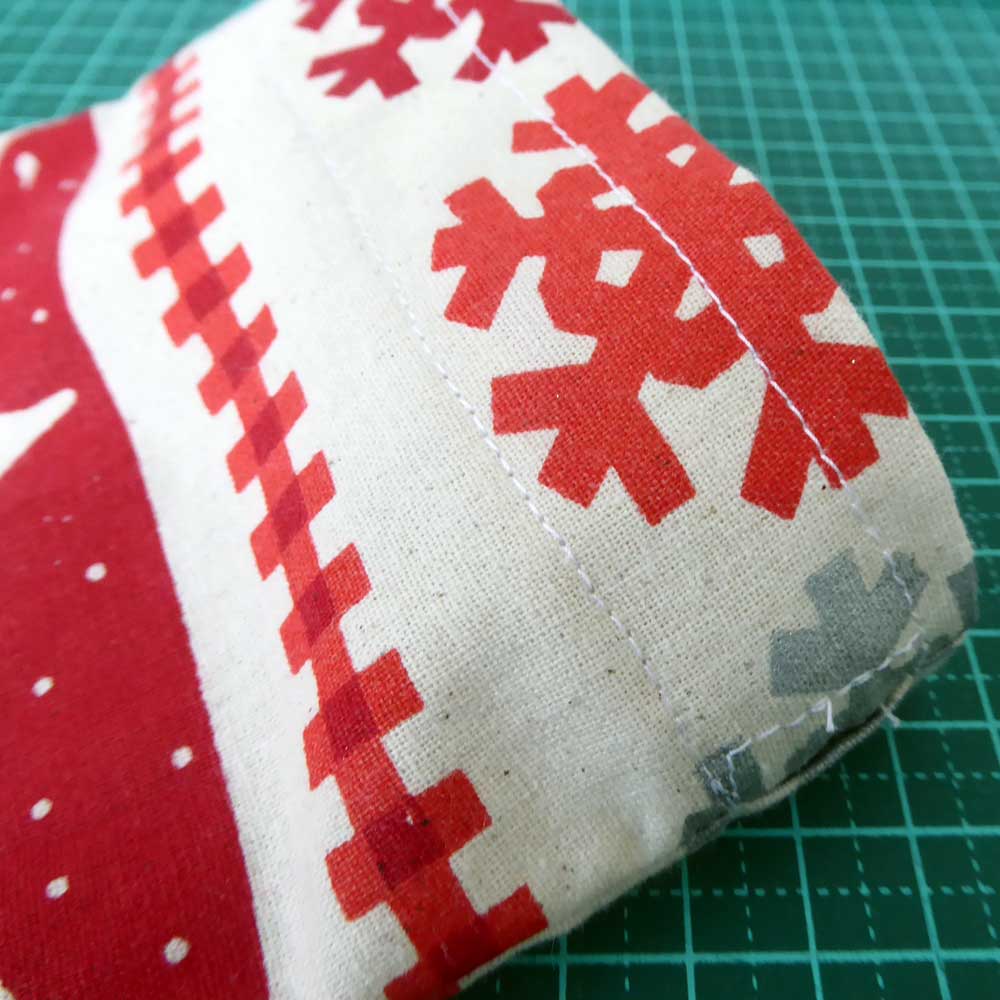
Turn the bag right side out again, and sew a straight stitch box around the opening (the yellow lines show the stitching lines in the right hand picture). This reinforces the opening, and effectively seals the unpicked side seam stitches.
6. Stitch drawstring channel
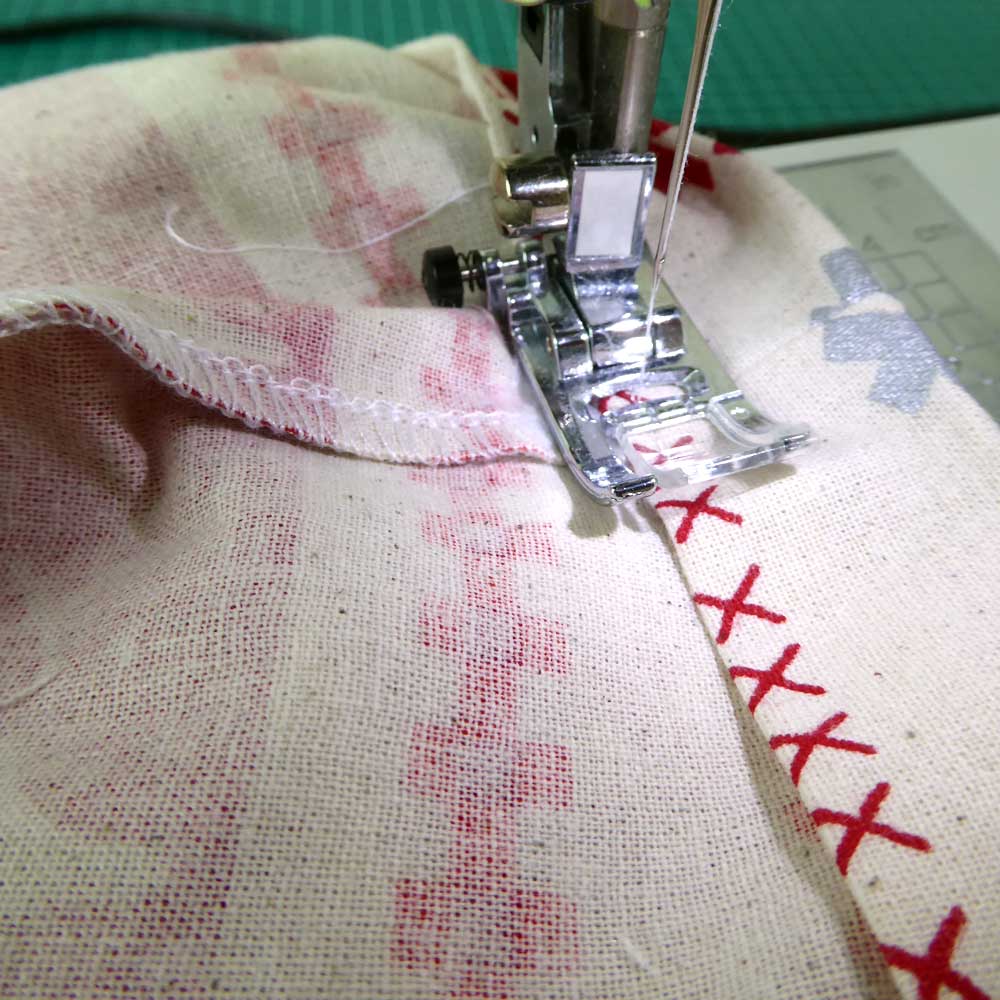
wrong side – sew close to lower edge of top hem 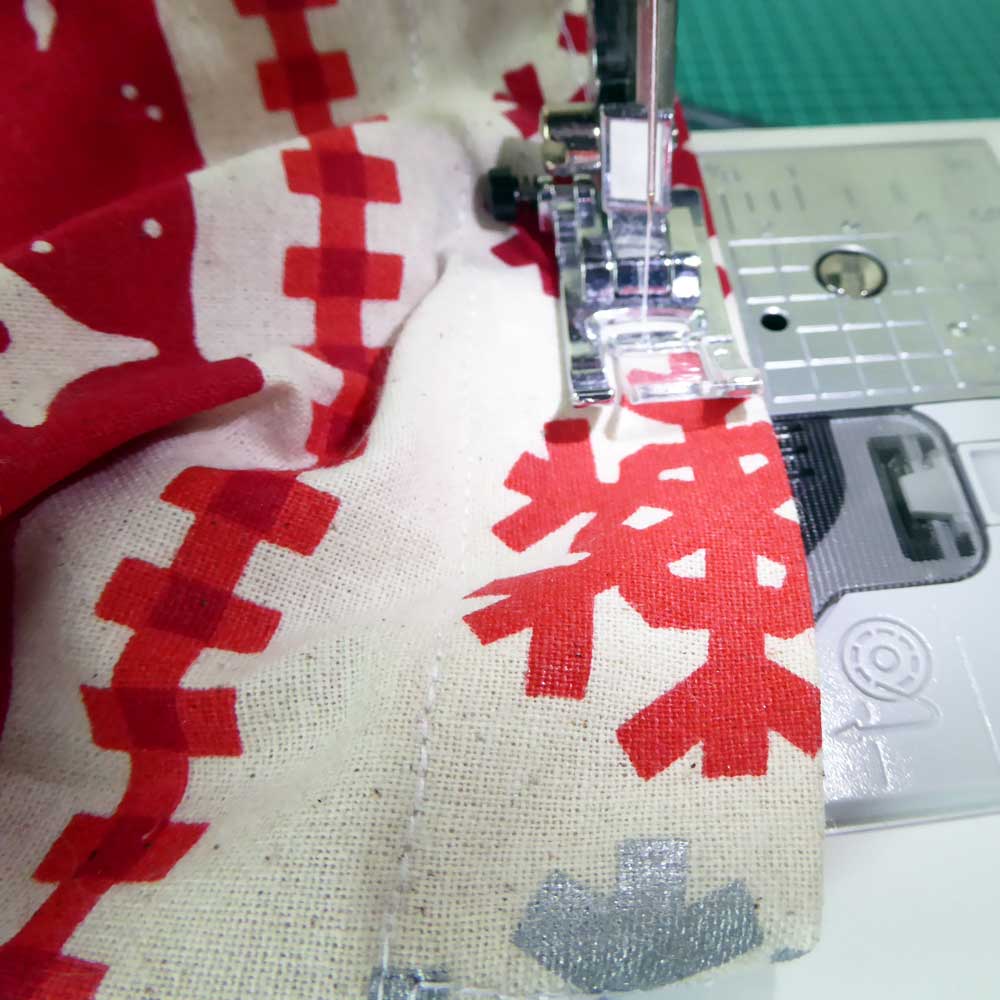
right side – sew close to upper edge of top hem
Now its time to sew the channels along the top hem, I found it easier to sew the lower edge from the inside of the bag – following along ¼” or 6mm from the folded edge and then turn right side out and sew the top channel approx 12mm or ½” from topmost folded edge. This forms the channel you will thread your drawstrings through.
You now have a hemmed gift bag, and that’s all your machine sewing done!
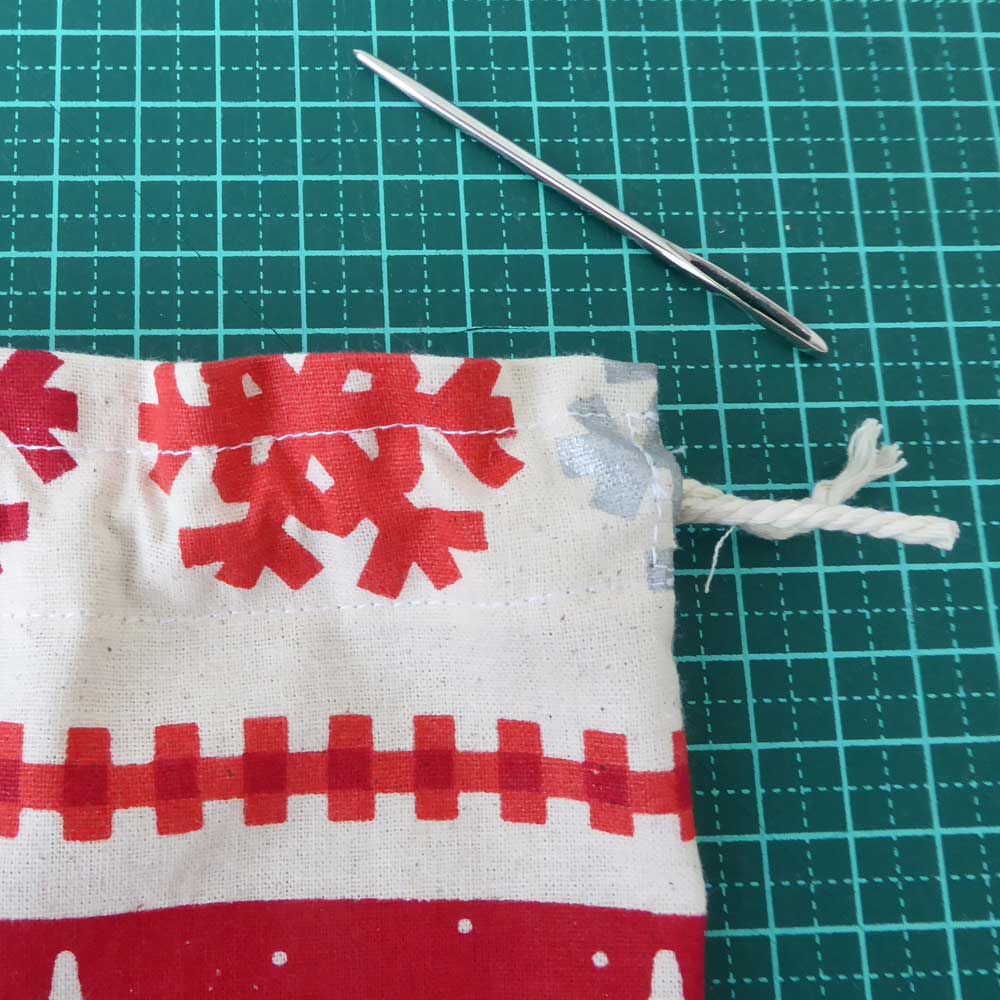
7. Threading the drawstrings
Take your drawstring material, in my case I used a thin piece of twisted unbleached cotton string to match the calico fabric I have used. Measure the string to 2½ times the width of your finished bag, and cut 2 pieces. The aim is to create 2 drawstrings that you can pull from either side of the bag.
2 lines of stitches forming a channel 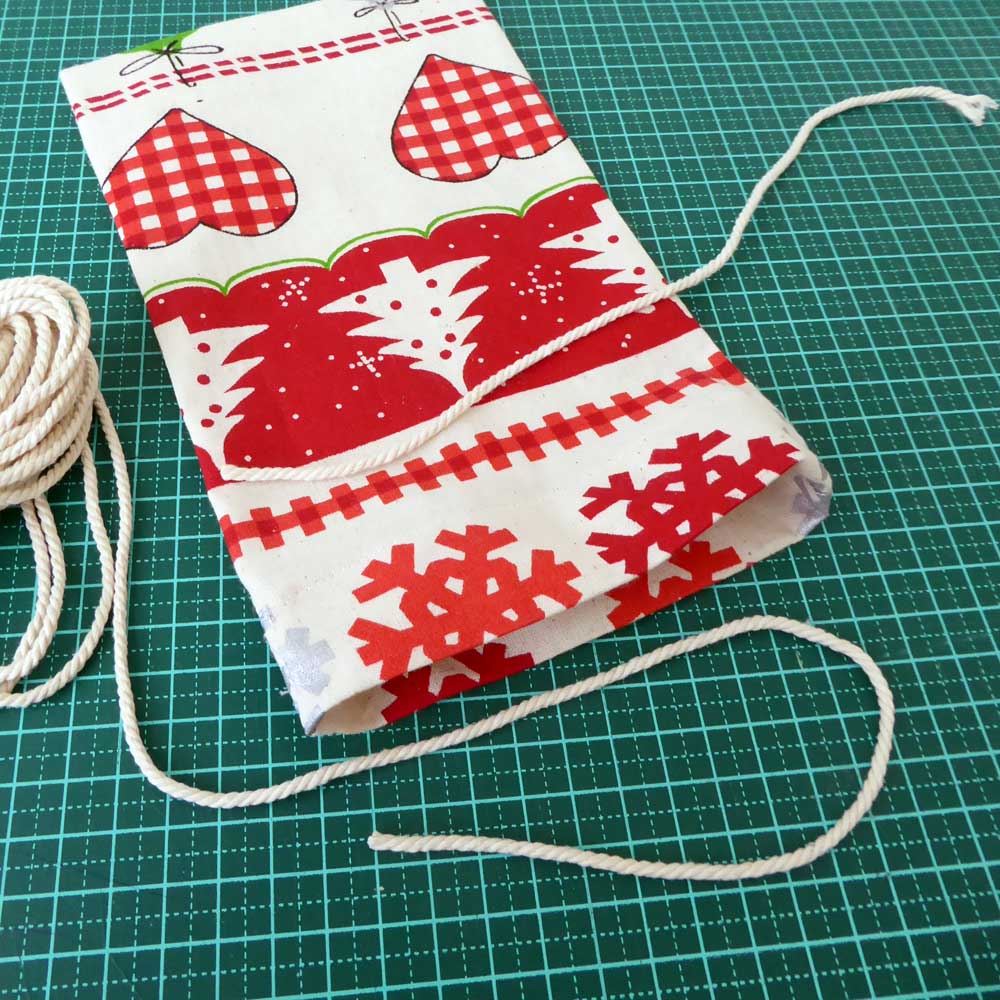
measure string 2½ times the width of bag, cut 2 pieces 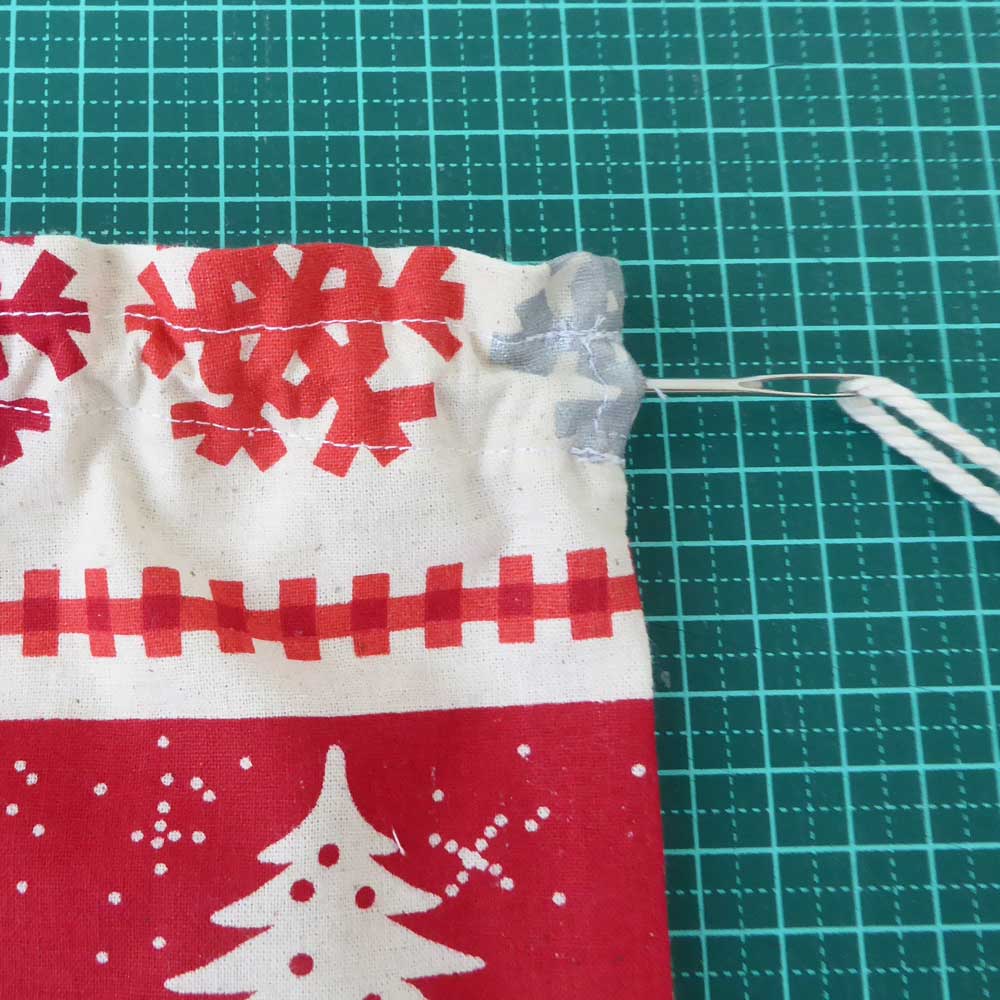
thread string using blunt large needle
Using a large blunt needle or safety pin thread your string in through the side openings of your bag that you made in the top hem. Thread one string in from the right hand side – thread right through the channel and come out the same opening you went in, do the same from the left hand side.
thread string using blunt large needle pull drawstrings from either side 
drawstrings pulled tight
With the bag flat on your surface, leave about 25mm or 1″ of the string and tie a simple knot on either side of the bag – trim excess thread. This gives you two strings to pull apart from either side of the bag to close the top with a gathering action.
And there you have it! A bag ready for re-gifting, encourage your friends and family to re-use your bag pass it on, and help reduce the amounts of wrapping paper going to waste.
Karen’s Top Tip
At each step of the construction process, pressing the fabric with an iron will increase accuracy, and result in a a professional looking finished item with straight seams and crisp edges.