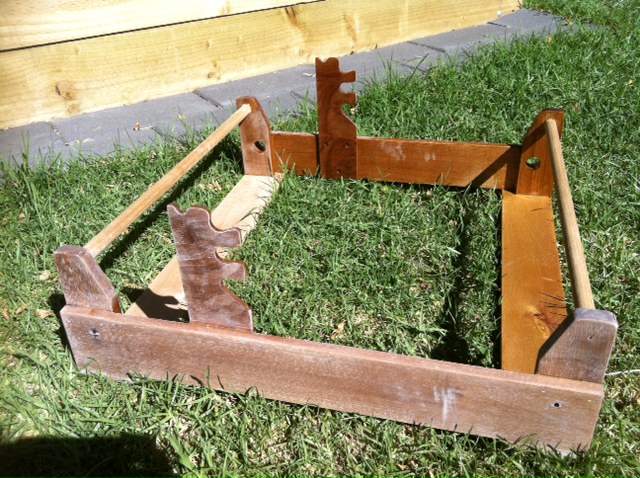
Once I got the weaving bug with my simple loom, (see previous posting), an eBay purchase of a rigid heddle loom was inevitable. I was lucky to come across one locally that had been handmade with great skill many decades ago, and well used by the current owner.
After a thorough dismantle, a light sanding and a couple of coats of matt varnish the reassembled loom was restored to its original splendour, and I was ready for the off!
The most laborious part of weaving is definitely in setting up the loom. I referred to a variety of online tutorials kindly posted by weavers across the world, and with some creative interpretation worked out how to set up my own loom (needless to say it hadn’t come with an instruction manual).
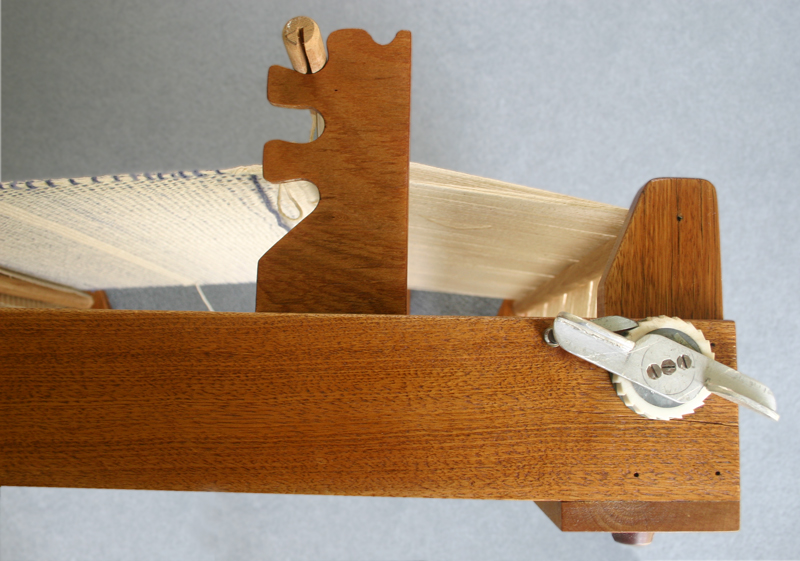
For me, this element of learning and discovery is all part of the creative craft process, and is the best way to really understand any new tool or piece of equipment you are about to use, by looking at it in detail and figuring out how it works.
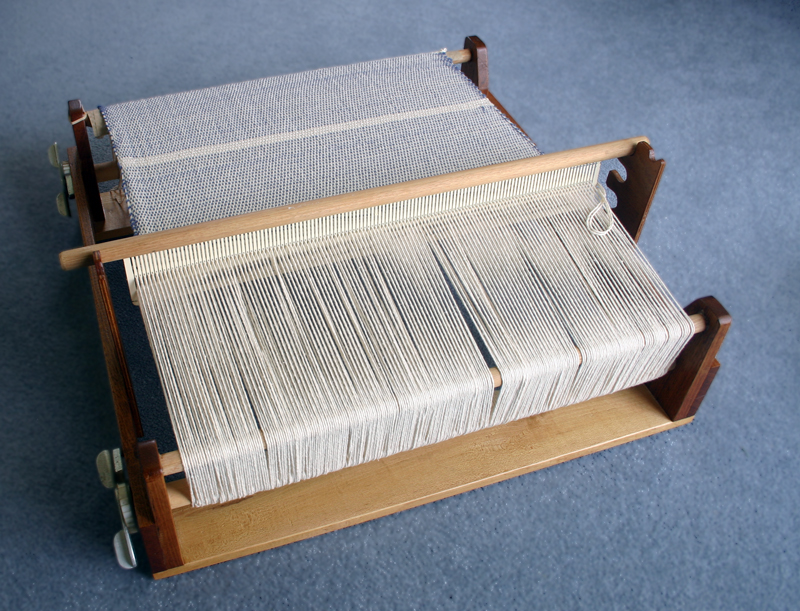
The first stage was setting up the warp yarn, which involves threading a strand of thread through each hole in the heddle, in an alternate up and over motion (as I said there are lots of instructions to be found on the internet that go into more detail on this); and then wrapping them around a back roller.
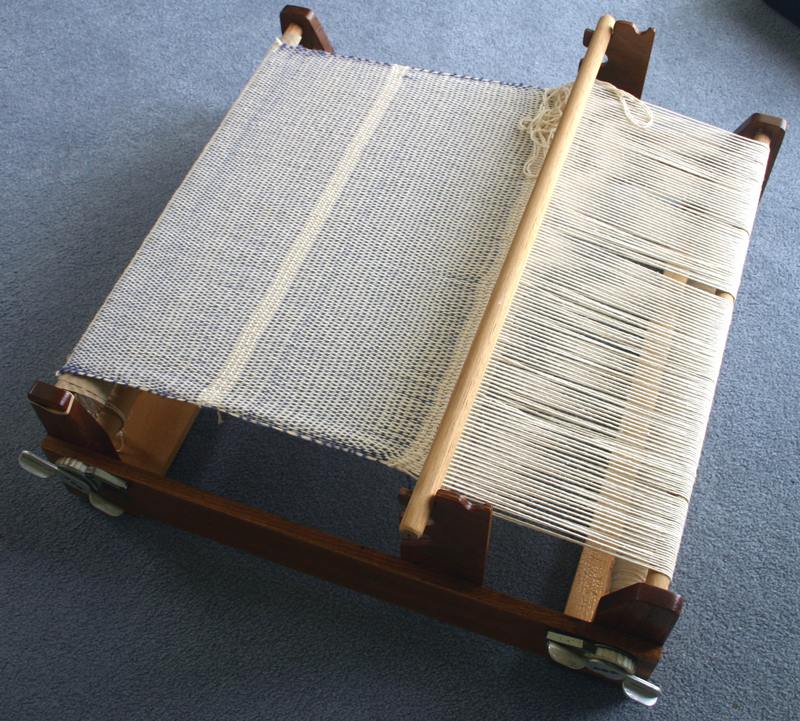
My loom has 2 heddle position settings, and I could separate out the warp yarns ready for passing a shuttle with weft thread on it to create the weave. This space is called the shed, and it’s quite miraculous when you start to pass the weft thread between the warps and start creating a piece of cloth.After all the setting up – it suddenly begins to happen quite quickly – and before you know it you’re suddenly weaving a test piece.
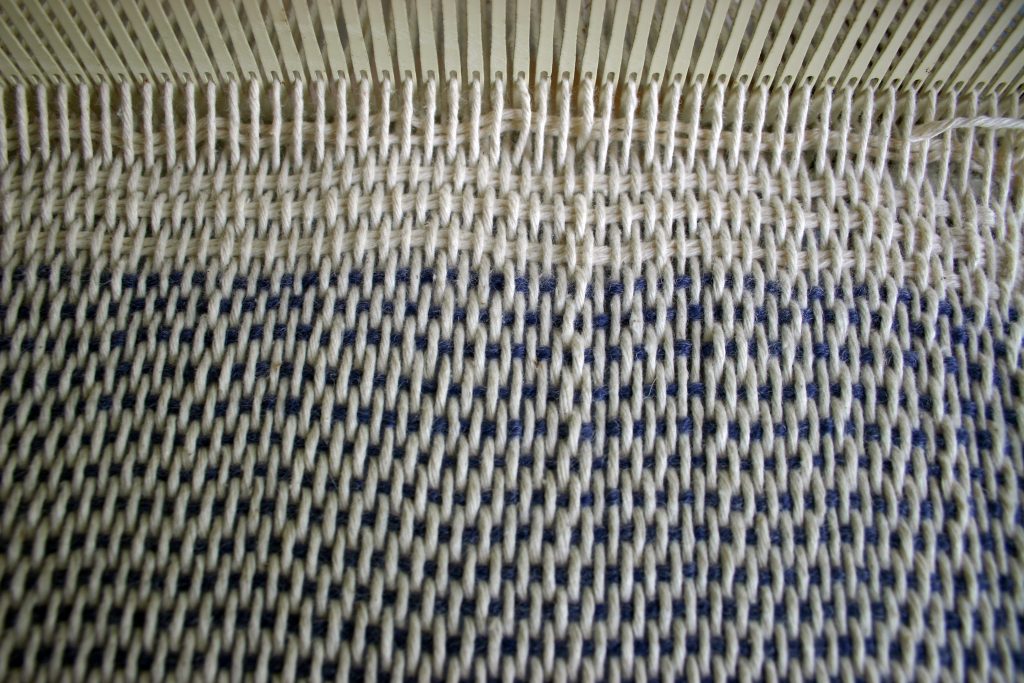
I used cotton thread for the warp, (cream) and wool thread for the weft (blue), mainly so I could see what was happening. Adding the odd random stripe of cream weft thread for interest.


