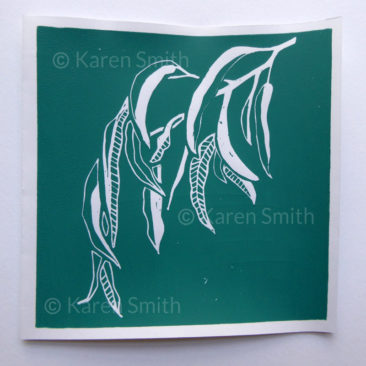
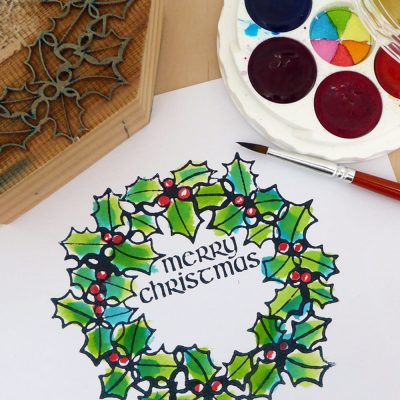
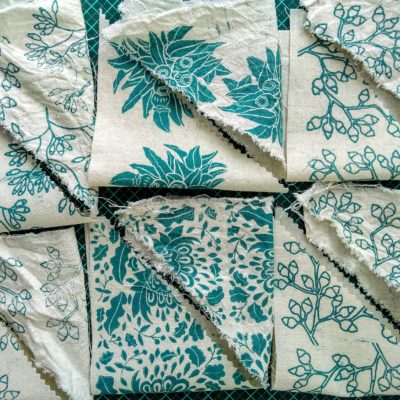
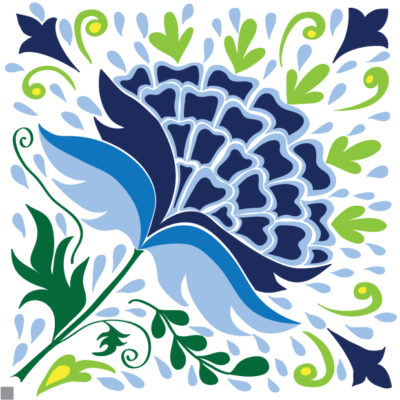
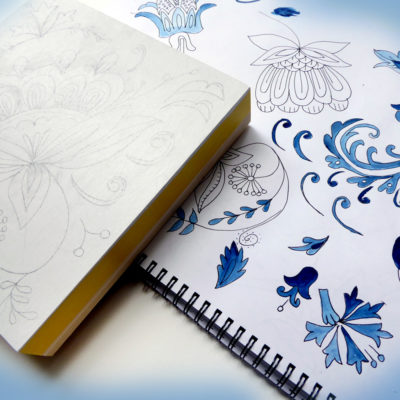
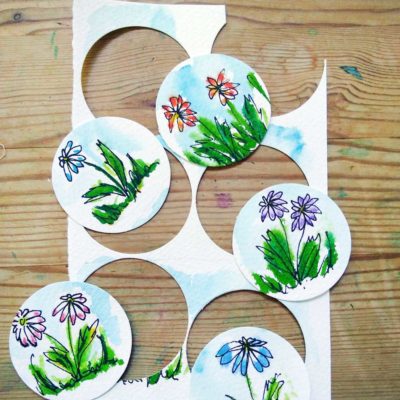
I really enjoy the whole process of relief printing with lino tiles, from the initial design phase, through carving and onto the ‘final reveal’ stage when you peel the paper from the tile and see your printed design for the first time.
I haven’t really done much printing since my art college days, so a recent return to the medium saw me mooching round my local art shops, where I found that a few new cutting mediums had been added to the old familiar lino board that I remembered.
There are quite a few variants out there these days, but the three I have been trying out recently are, lino compound, vinyl and easy carve. I find the new vinyl really suits a fine detail style of printing that I’m after at the moment, for a series of botanic designs.
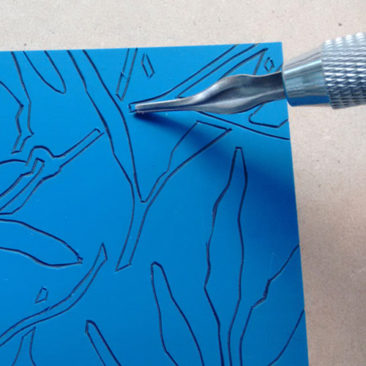
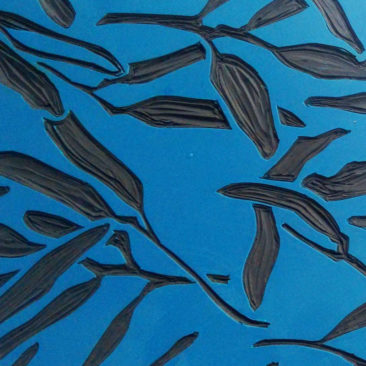
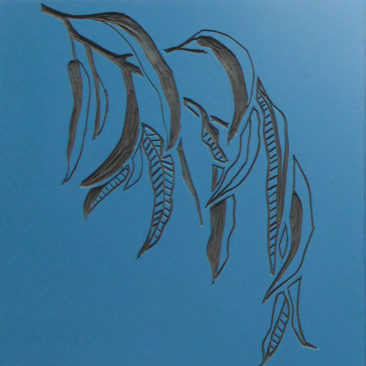
The vinyl I have been buying is 3mm thick, and I’ve found it in sheets as large as A3, (this is the most economic way to buy it as its very easy to cut down to size with a Stanley knife). The Vinyl is double sided – either side can be cut into, I haven’t tried using one tile on both sides simultaneously as I tend to cut quite deep,and think I would probably go through to the other side! The coloured top layer when cut reveals the black vinyl interior, this is great for keeping track of how the whole design is looking.
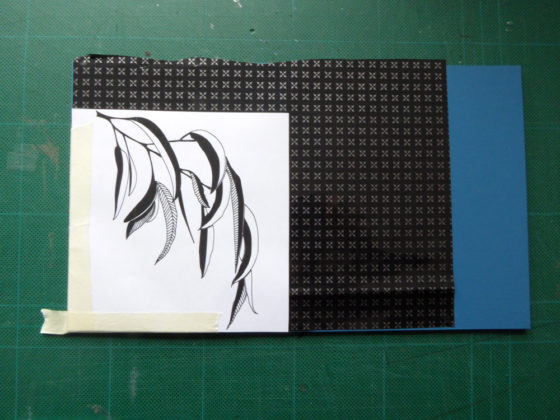
The vinyl surface is exceptionally smooth, and takes direct pencil / or black line drawing easily, but I also found that it works really well when using carbon paper for tracing over a design sketch, a process that doesn’t work so well for me with the traditional grey hessian backed lino blocks, as the carbon line is difficult to transfer onto the harder lino surface.
Although smooth, the vinyl is easy to carve into, the blade travels easily through the top layer and into the black vinyl core, and works well for thin detailed lines. Best of all the tiles are fully washable, so clean up is really easy. A quick wash and dry, and the tile is ready to go again.
My Top Tip
If the vinyl is a little hard to cut, it can be warmed to make it more flexible,
just place it in some warm water for a minute or so, and dry.

